How to Set Up a Local Copy of Your WordPress Site
As the organizer of the Las Vegas WordPress Meetup, I'm constantly telling people that they should test new releases of WordPress using a staging site or on a local development site prior to running the update on their live site. Never has this been truer than with the upcoming release of WordPress 5.0 that includes the new editing tool named Gutenberg.
At this month's meetup, I ran through a VERY quick demonstration of how to set up a local copy of WordPress and then get a copy of a live website running locally. While it was a nice example of how it could be done in about 15-20 minutes, it was near impossible for the audience to take adequate notes. So as promised, here is a step-by-step tutorial on setting up a copy of a live site on a local install of WordPress.
Disclaimer: There are many, many, MANY ways this can be done. There are more technical ways to do this with other tools, but this is the way that I do it; and I feel is a reasonable way for even a non-technical person to follow along with.
Set up a web server
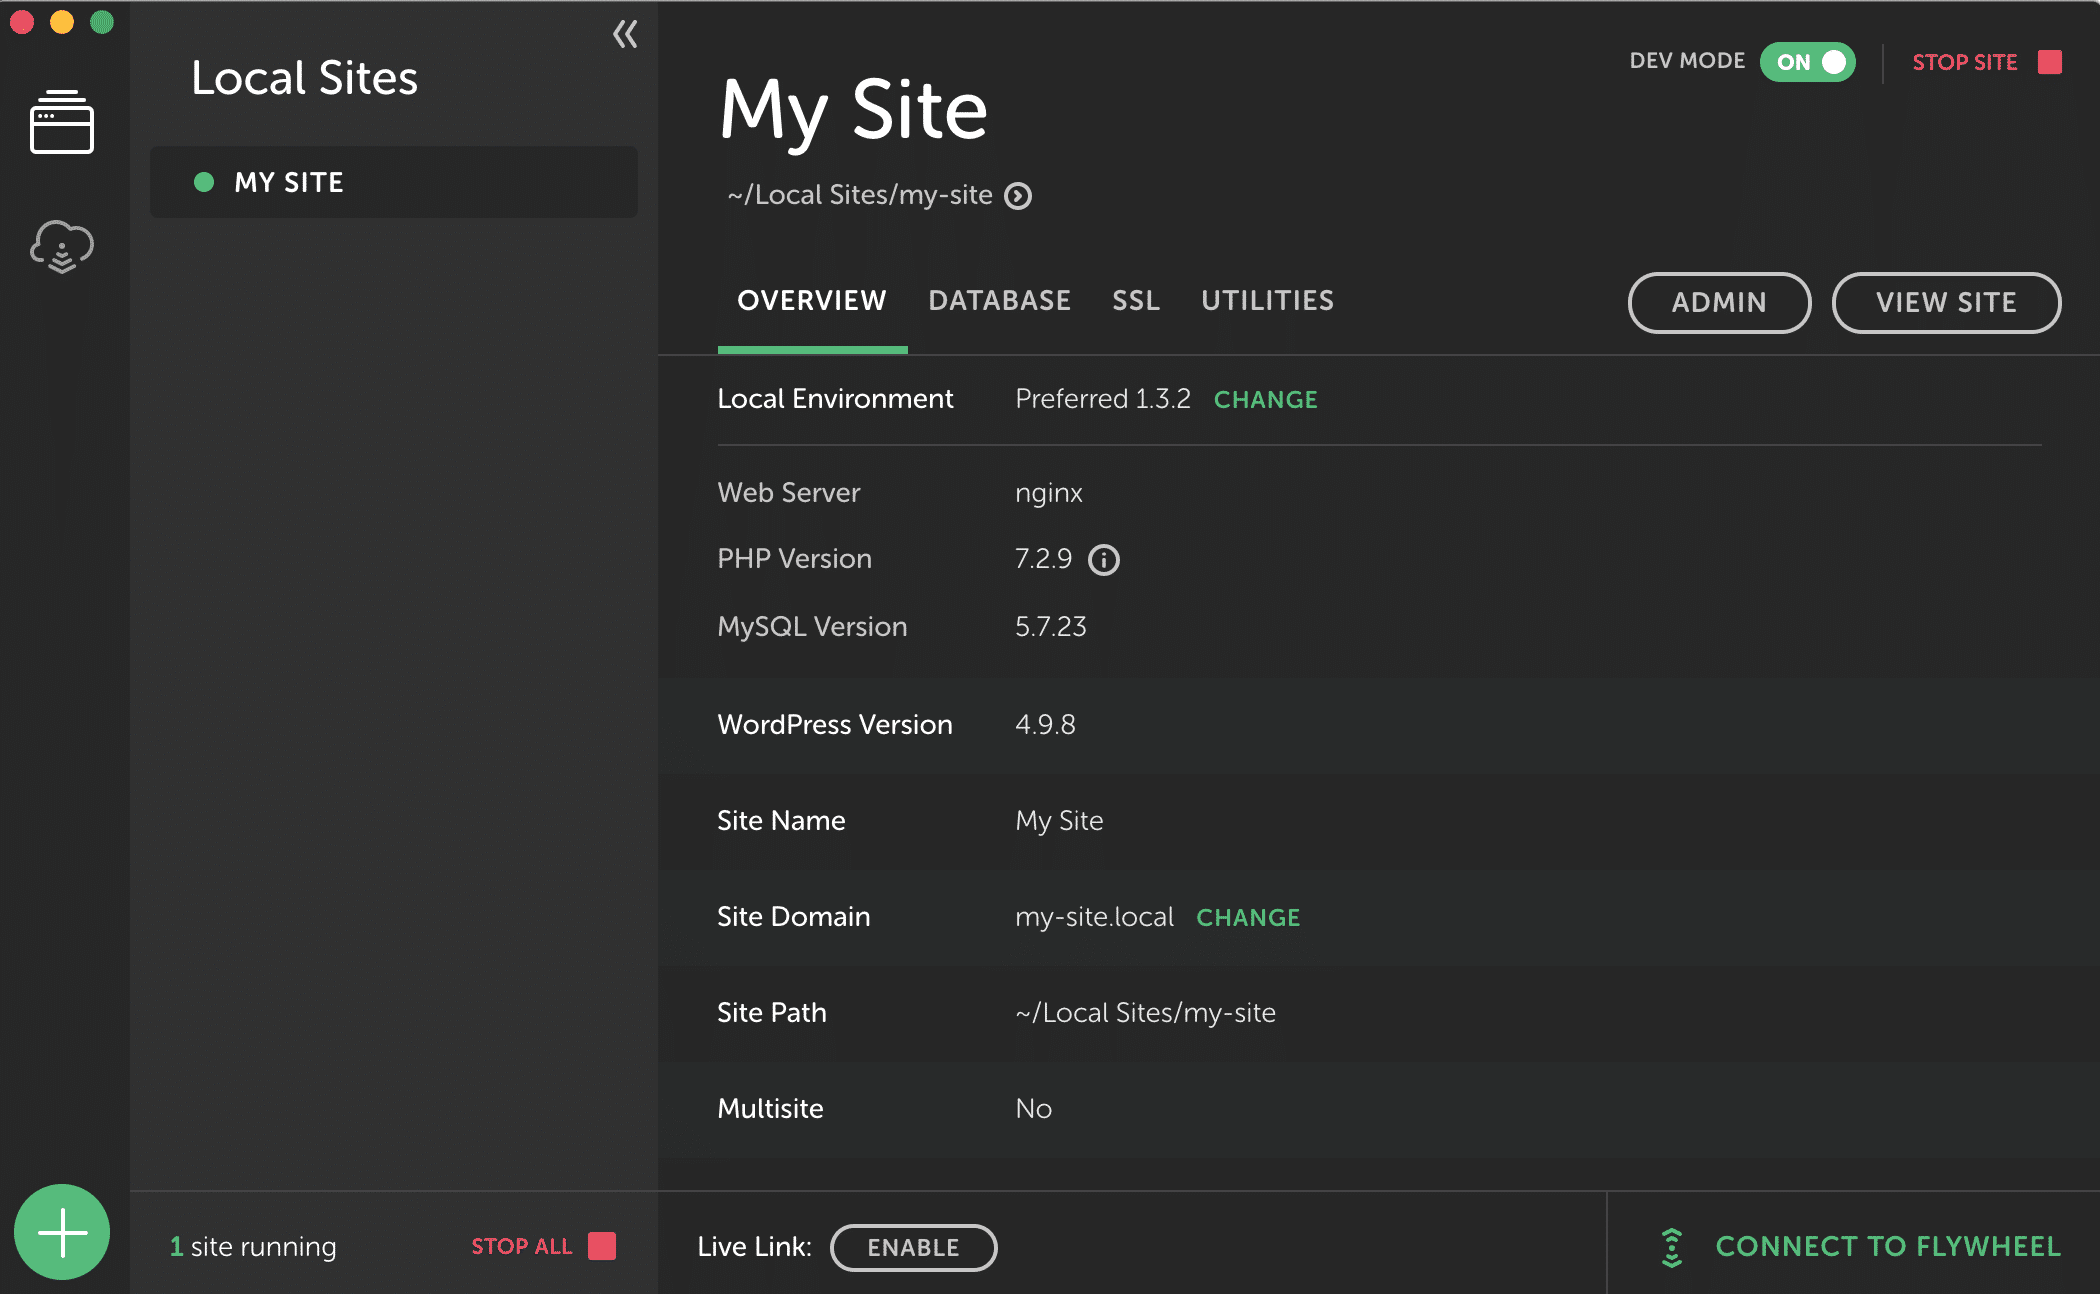
I've seen it happen before. Somebody wants to run WordPress locally, so they head over to WordPress.org and download a copy of the software. They unzip the file and become very confused that WordPress won't run. That's because WordPress needs to be run on a web server. One of the easiest ways to get a web server set up on your local computer is with a tool called Local by Flywheel. They have a version for either Mac or Windows; so it's a great tool that can be used by just about everybody.
The first step is to download Local by Flywheel and install it on your computer. Once that's done, we'll set up WordPress. You'll love how easy this is.
Set up a local install of WordPress
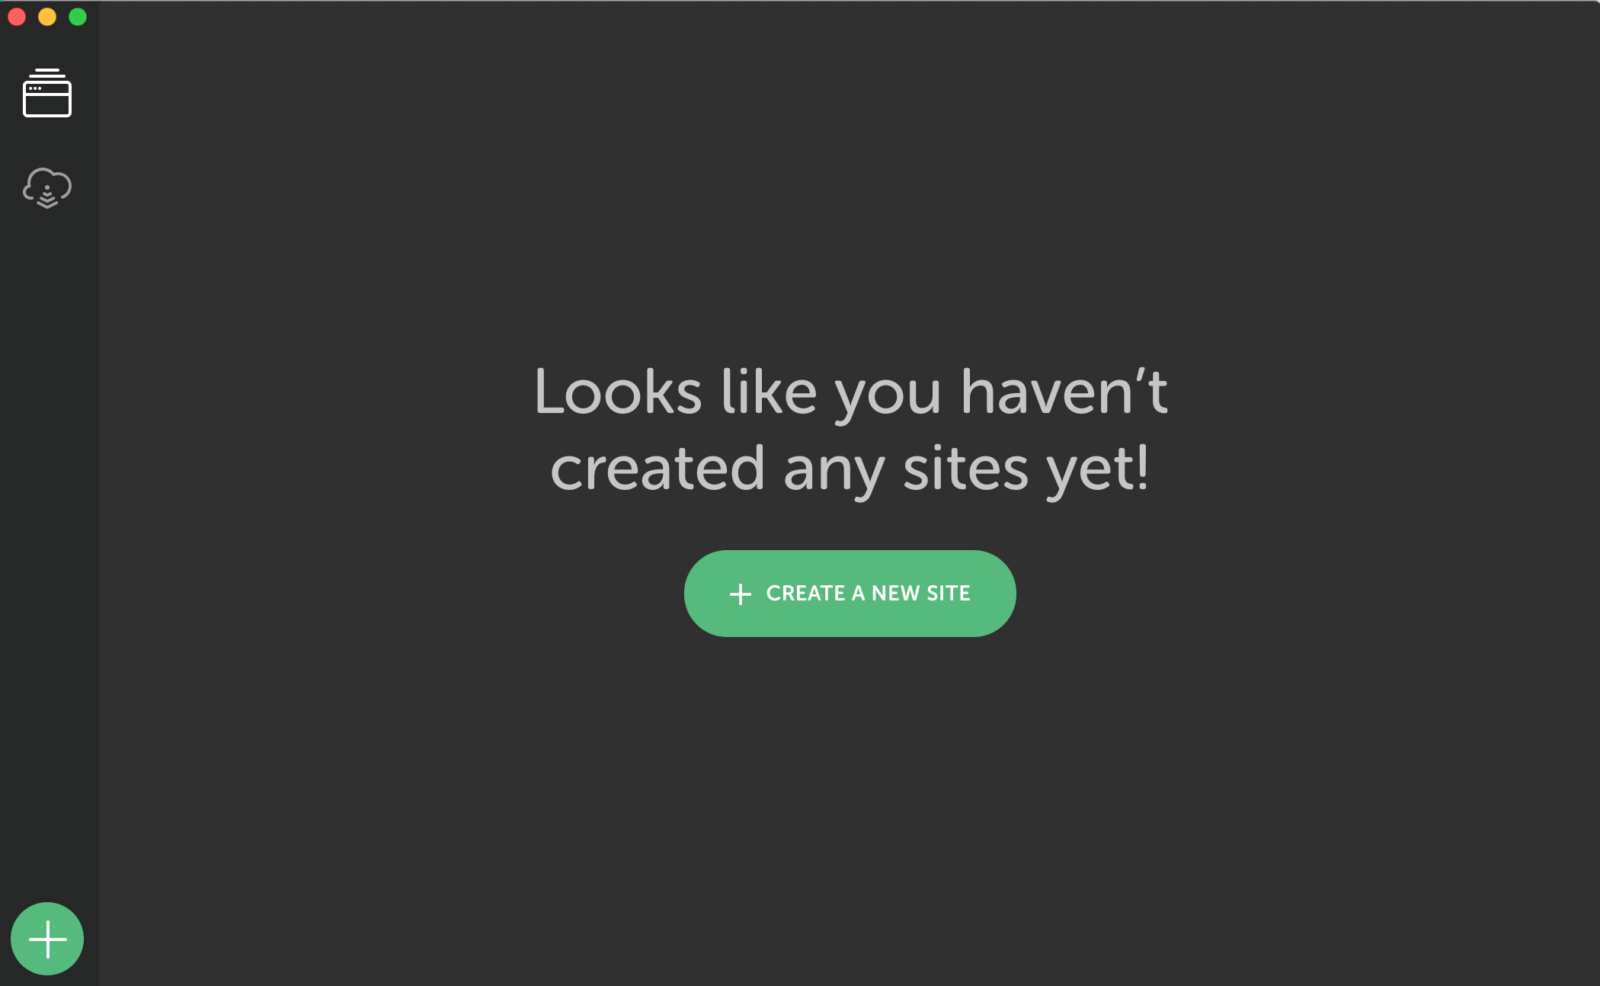
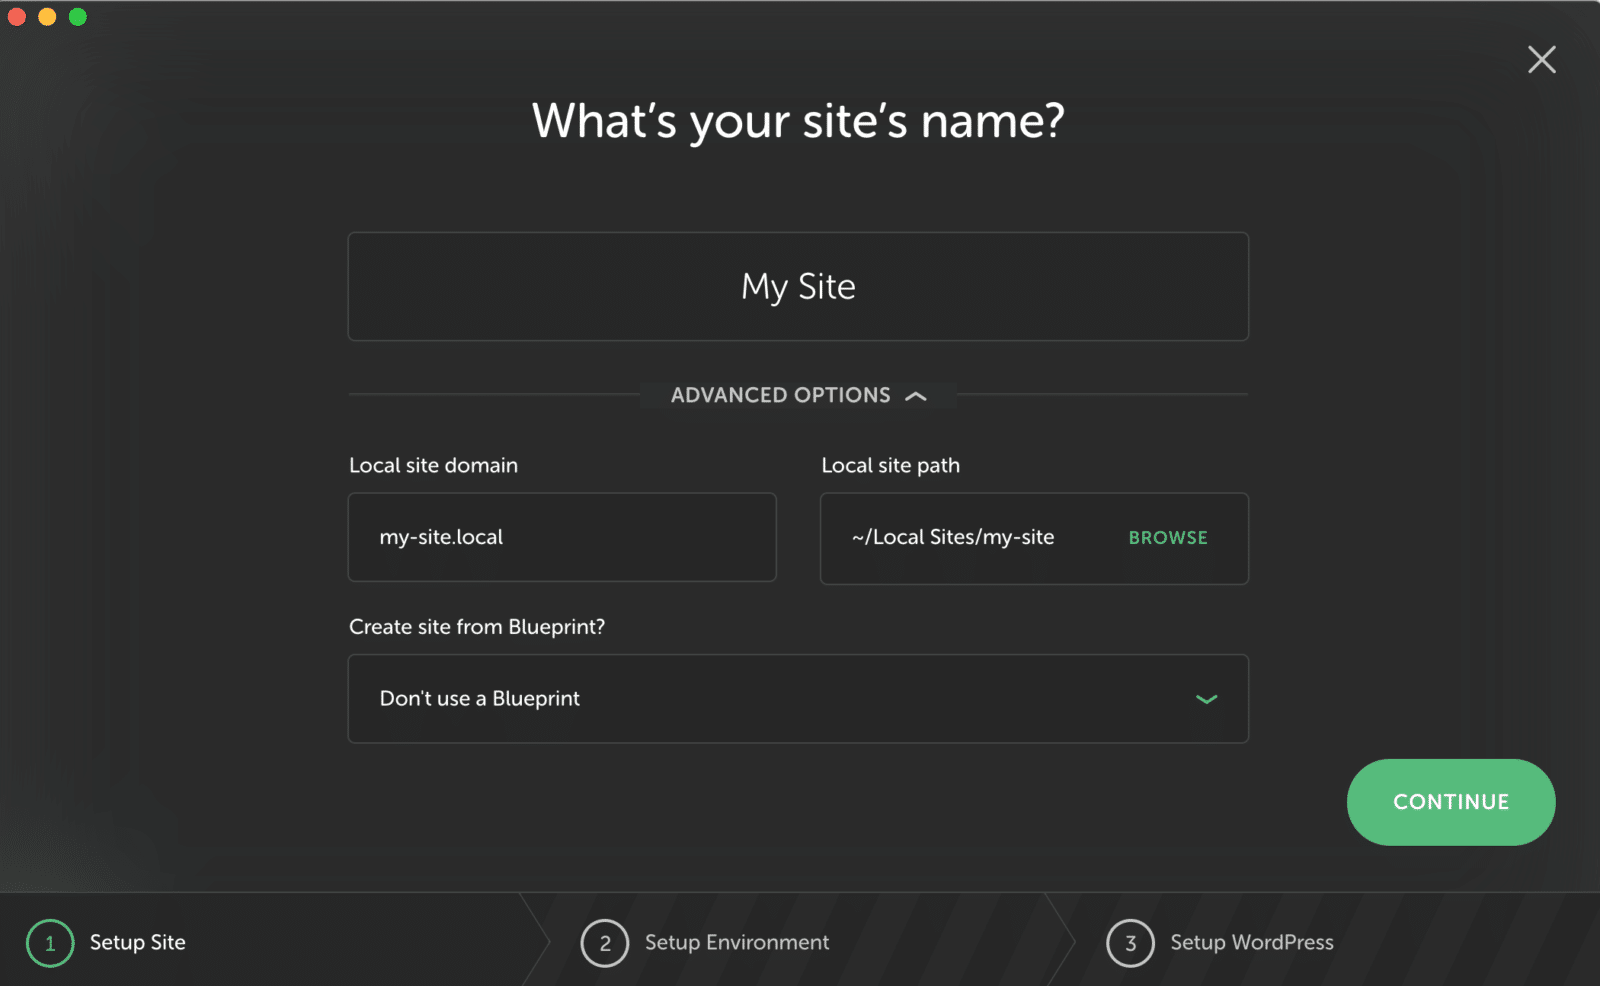
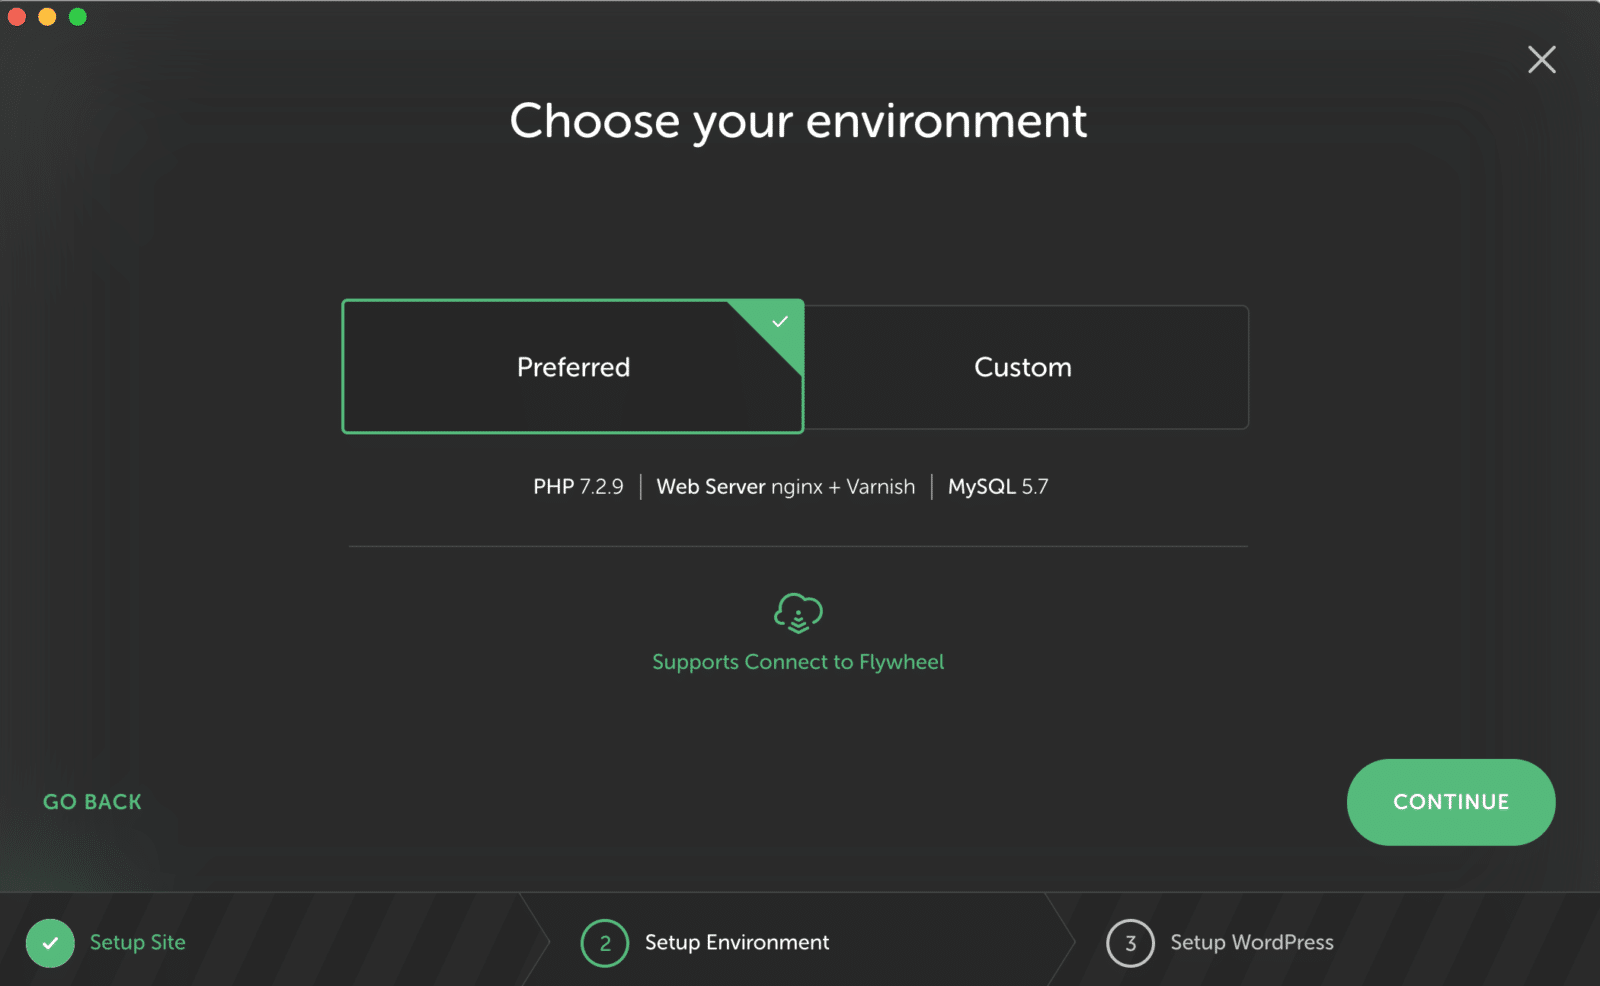
In this step, we're going to install a fresh copy of WordPress using Local By Flywheel. Start by reviewing the photo gallery.

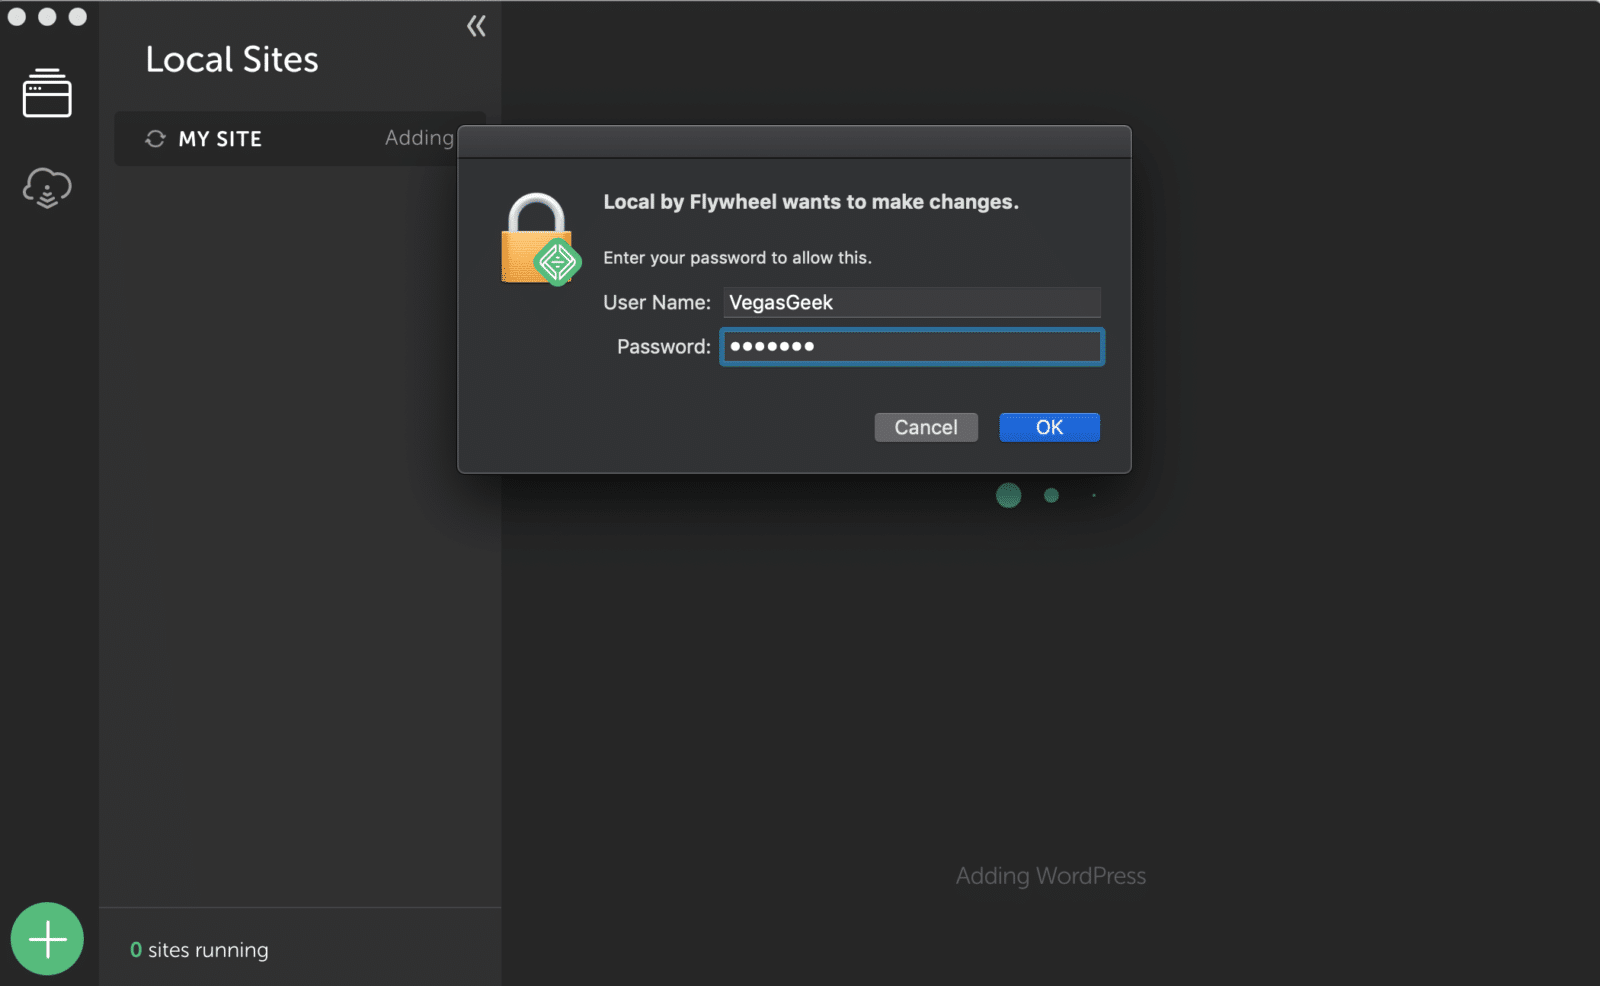
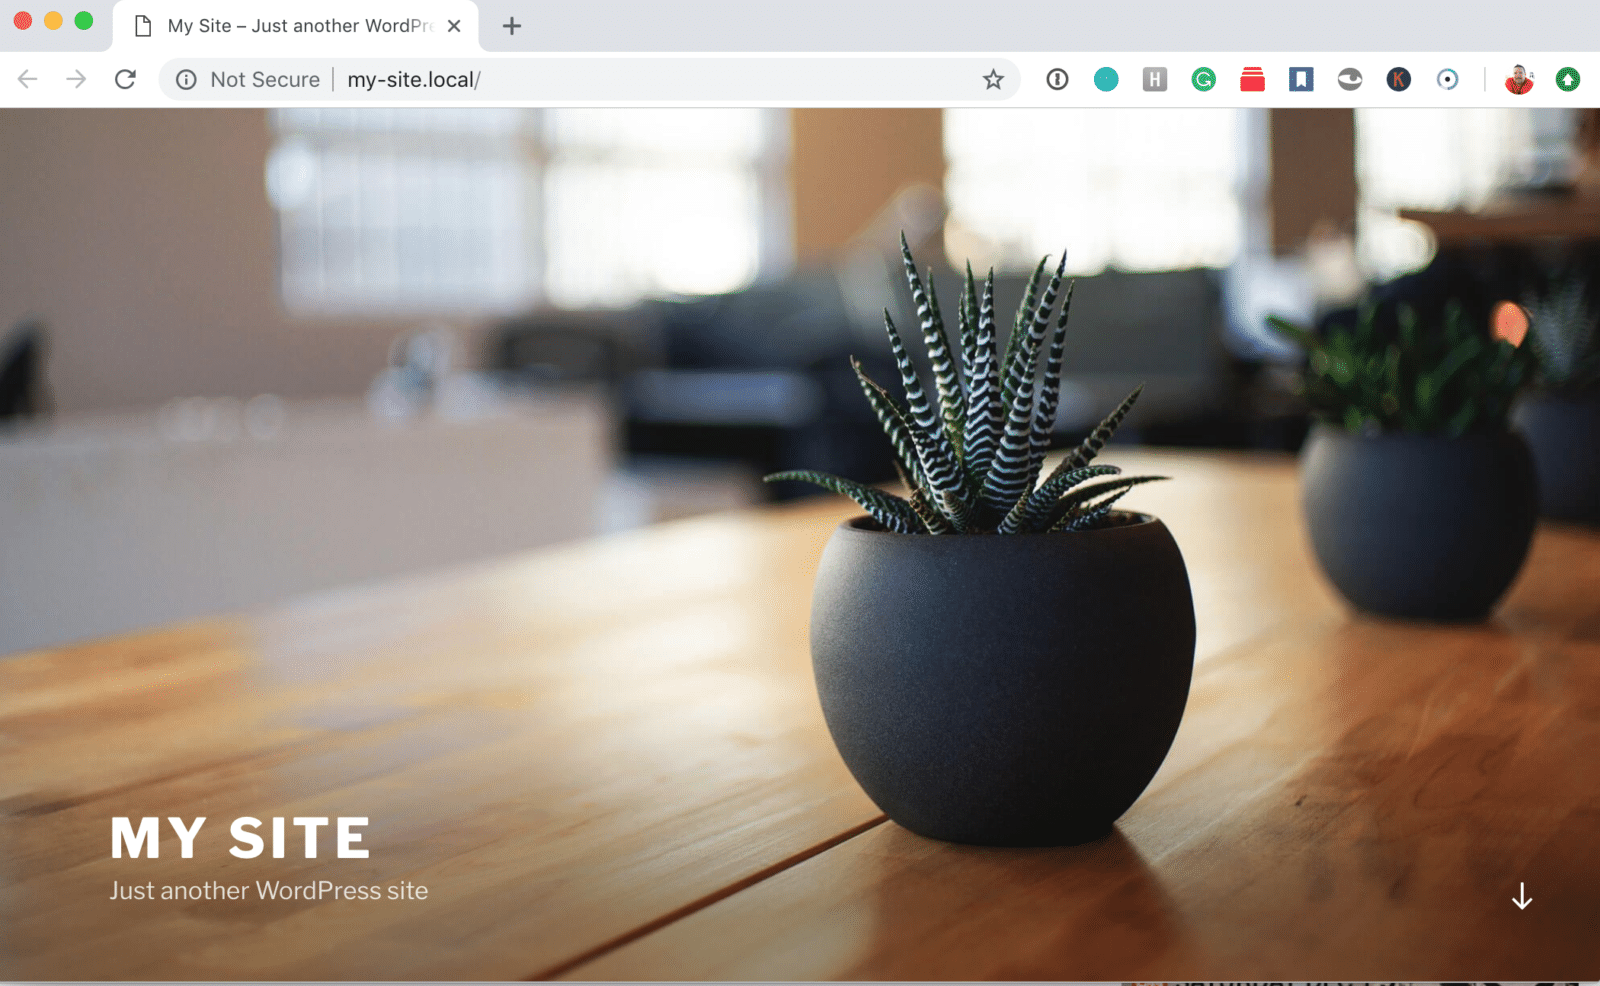
And just like that, WordPress is installed locally. You can access the admin area using the username and password you typed in during the setup process.
With WordPress installed, now the real fun starts. Over the next few steps, I'll walk you through the process of bringing a copy of a live website down to the local install.
Install a few plugins
In the steps that follow, I'm going to move copies of the database, plugins, themes, and the files that have been uploaded to the media library. To do this, I'm going to use two plugins: Updraft Plus and WP Migrate DB Pro.
Updraft Plus is a free plugin. WP Migrate DB Pro is not. Yes, there are ways that you could do these steps manually so that you don't need the paid plugin. But, for the simplicity and time savings, I feel that the cost is 100% justified. You will need to purchase the Developer license of WP Migrate DB Pro in order to get Media Files Addon, which you will use to move all the files from your Media folder on the live site to the local install.
The next step is to install the following three plugins on the live site AND the local WordPress install:
- Updraft Plus
- WP Migrate DB Pro
- WP Migrate DB Pro Media Files Addon
Once you have installed all three plugins, go ahead and activate them and enter your license key for Migrate DB Pro on both the live and local install.
Download themes, plugins, and other files
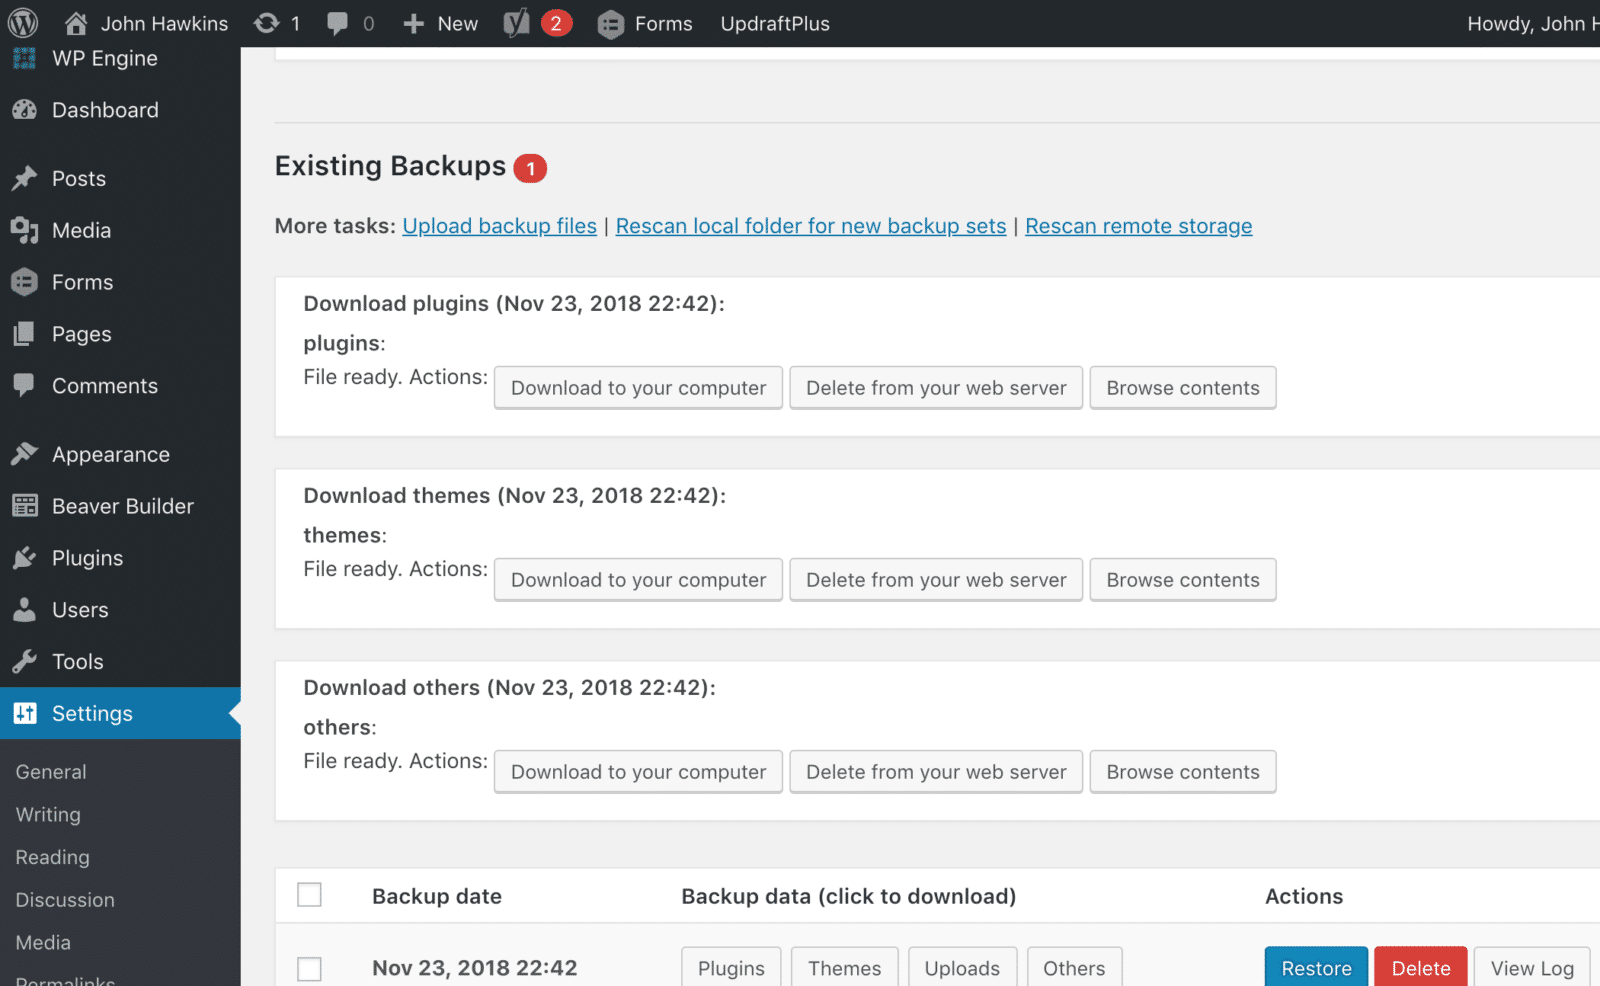
In this step, I'm going to create a backup. Then, from the backup, I'll move those files down to my local install. First, let's make that backup and prepare the files we need. For this part, we're going to log into the WordPress dashboard on the live site and go to the Settings -> UpdraftPlus Backups tab.
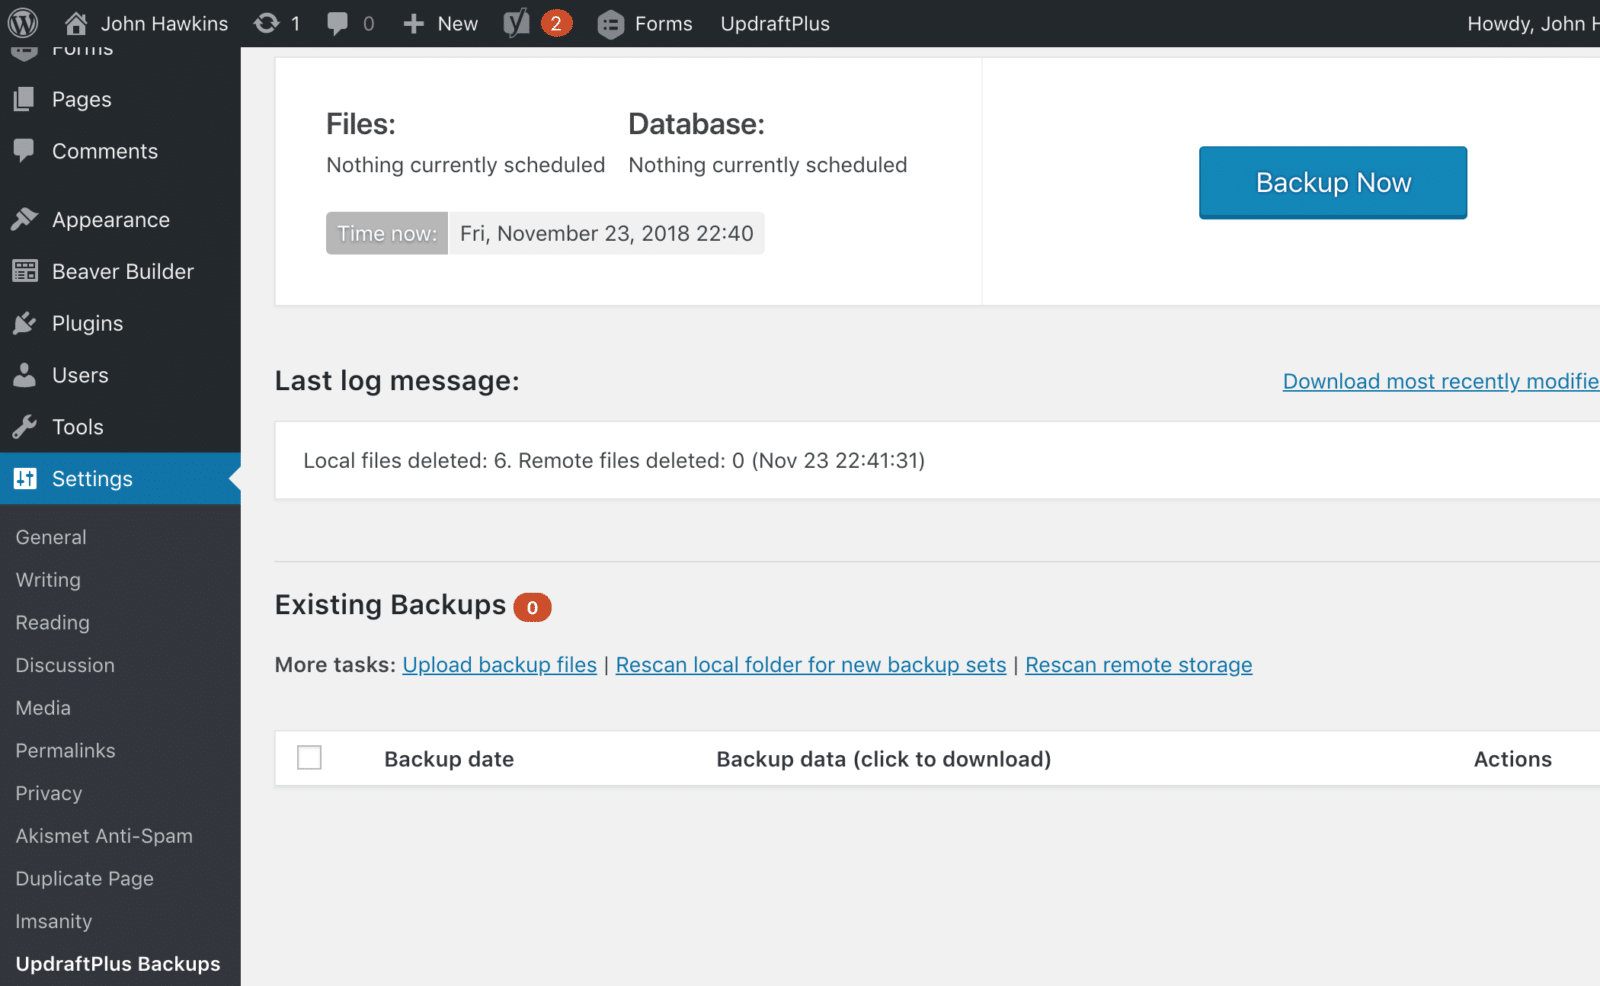
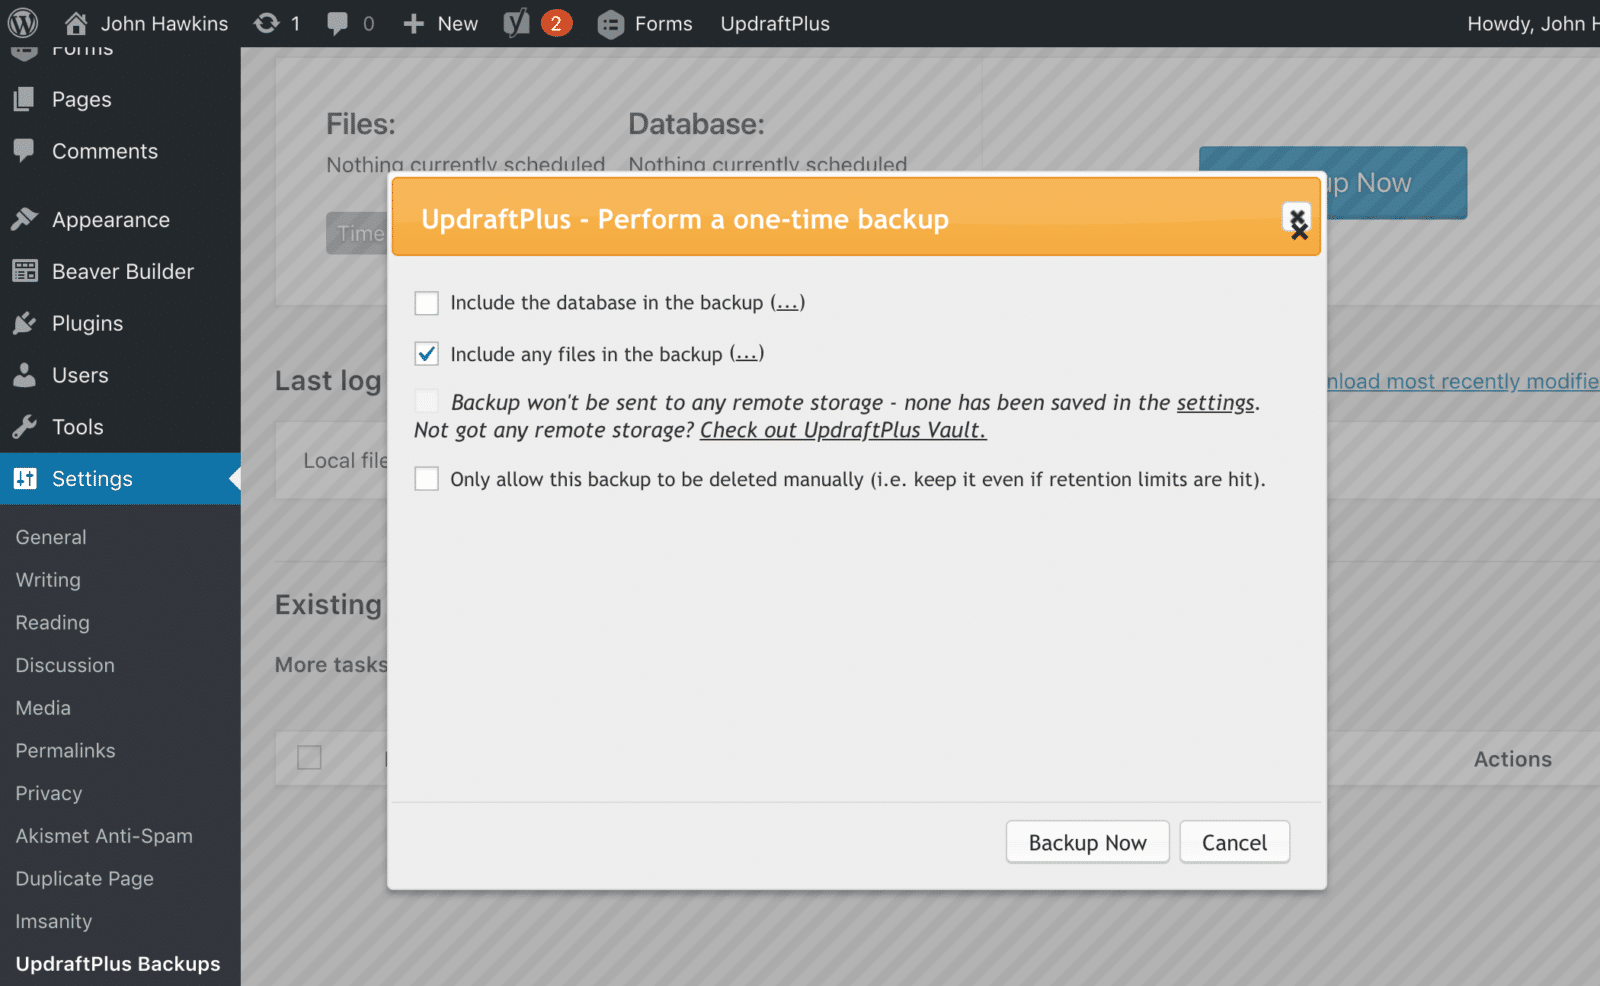
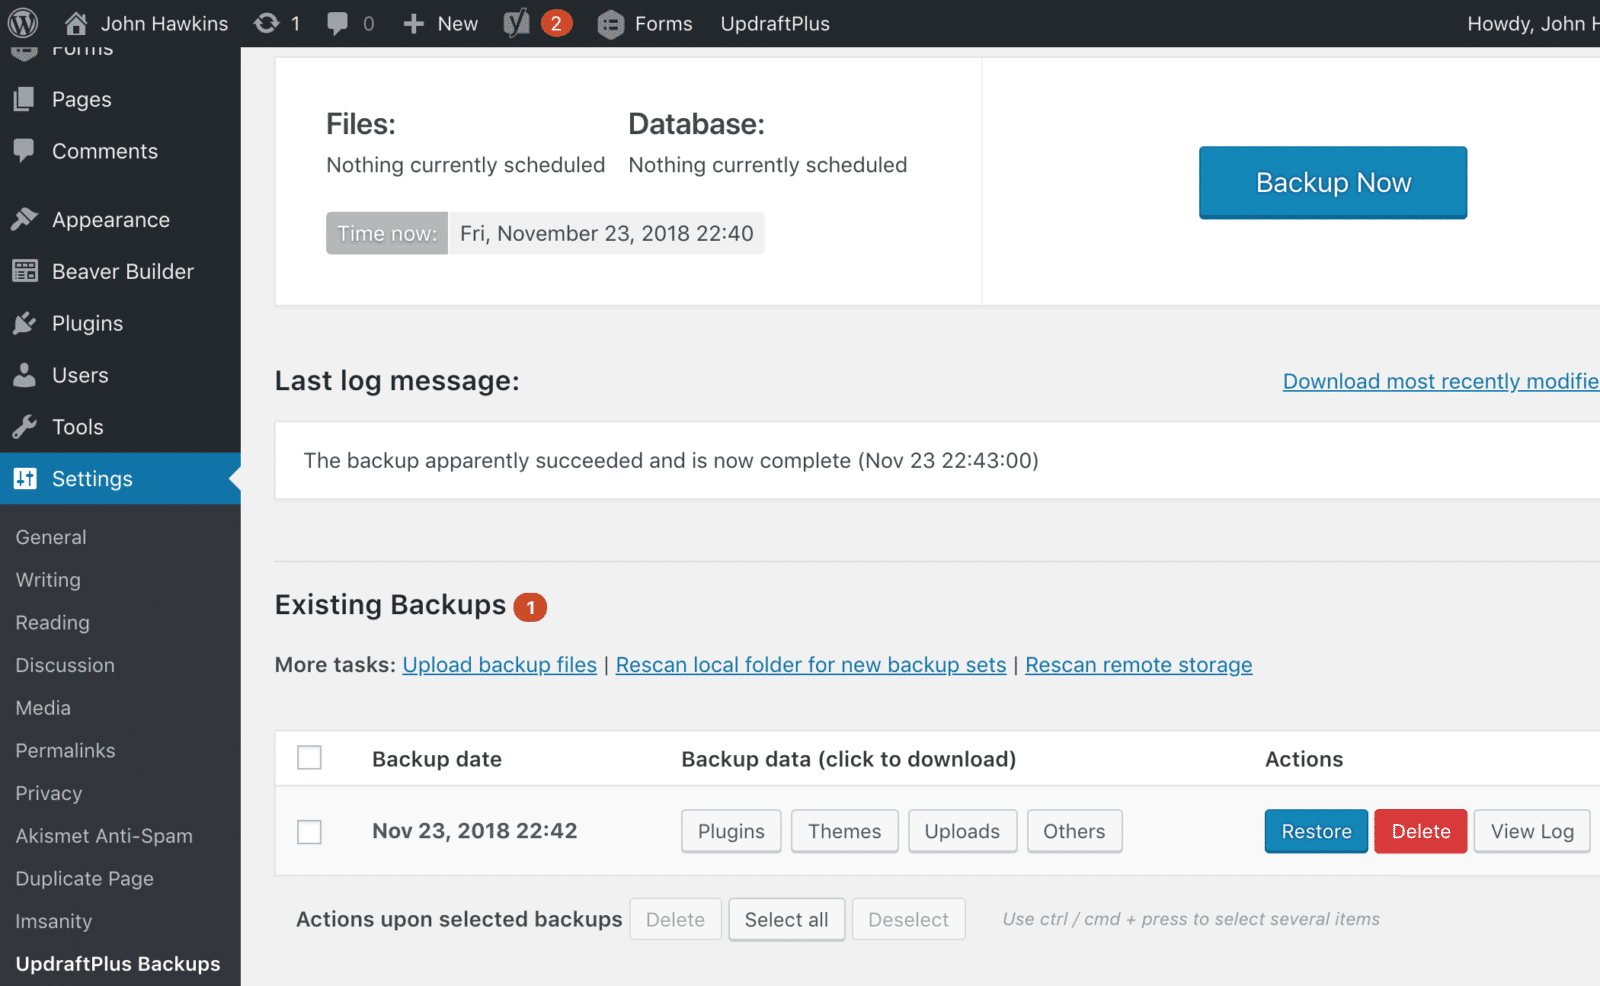
Notice that I didn't say to download the ‘uploads.' This is because, depending on the number of files in your media library, the backup file may be too large to import to your new WordPress install. We will deal with the media files in a later step.
Once those three files are downloaded, we can move onto the next step.
Add themes, plugins, and other files to local install
Next, I'm going to log into the WordPress dashboard on the local install of WordPress and go to the Settings -> UpdraftPlus Backups tab. Then, I follow these steps.
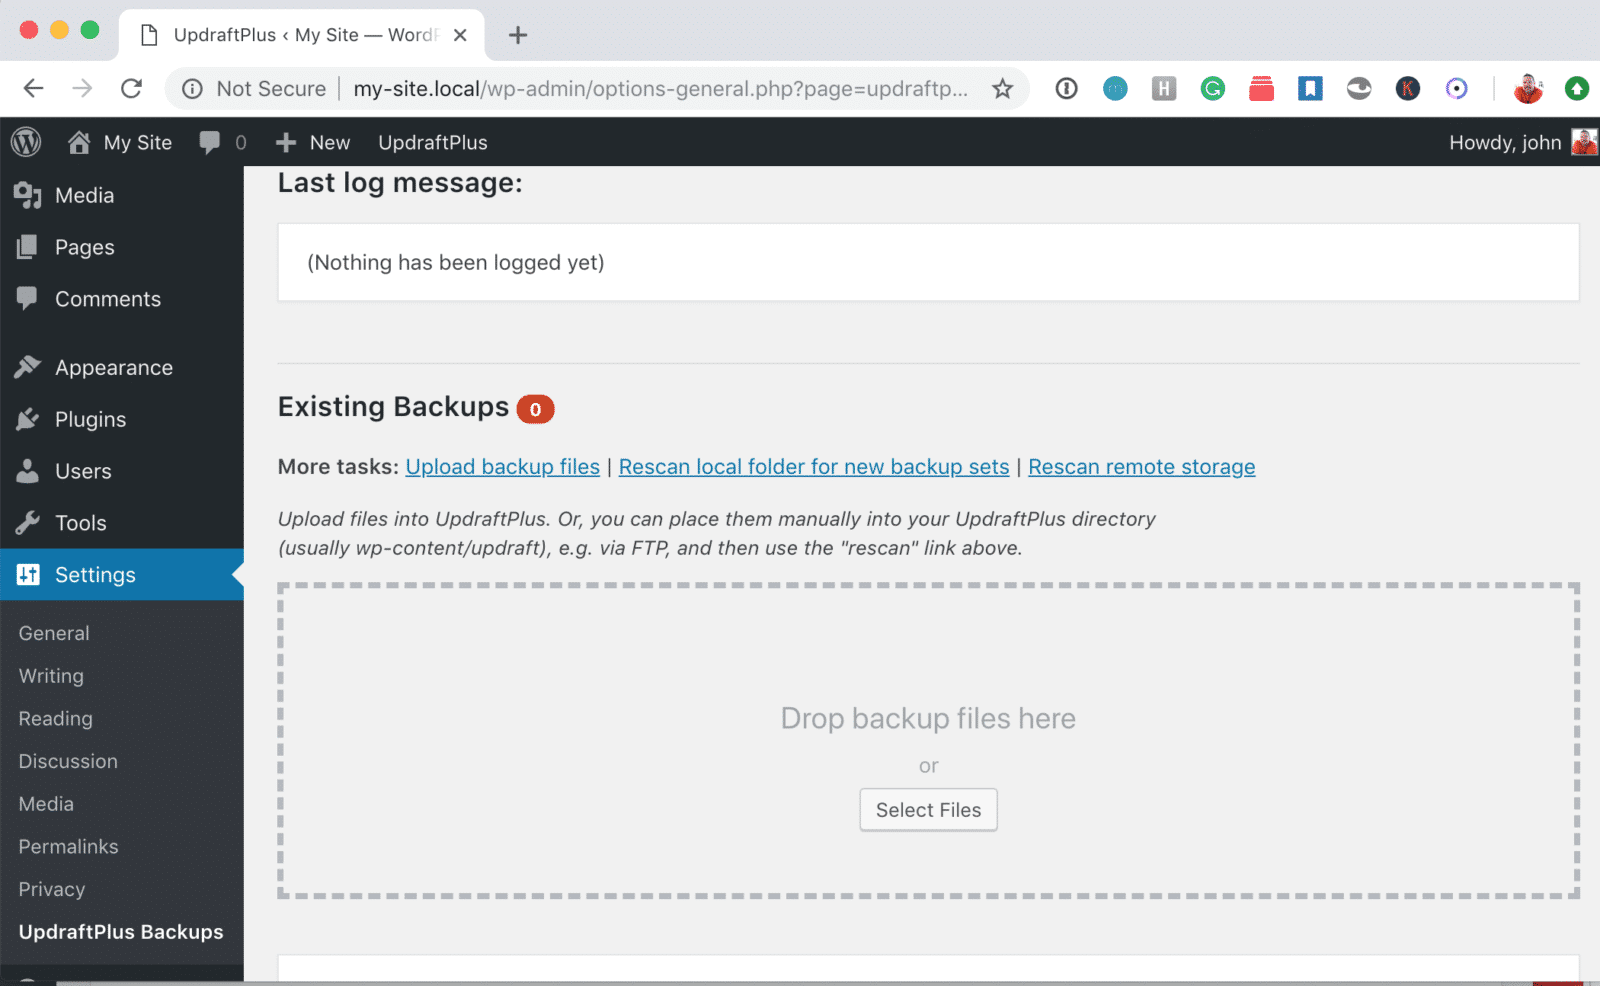
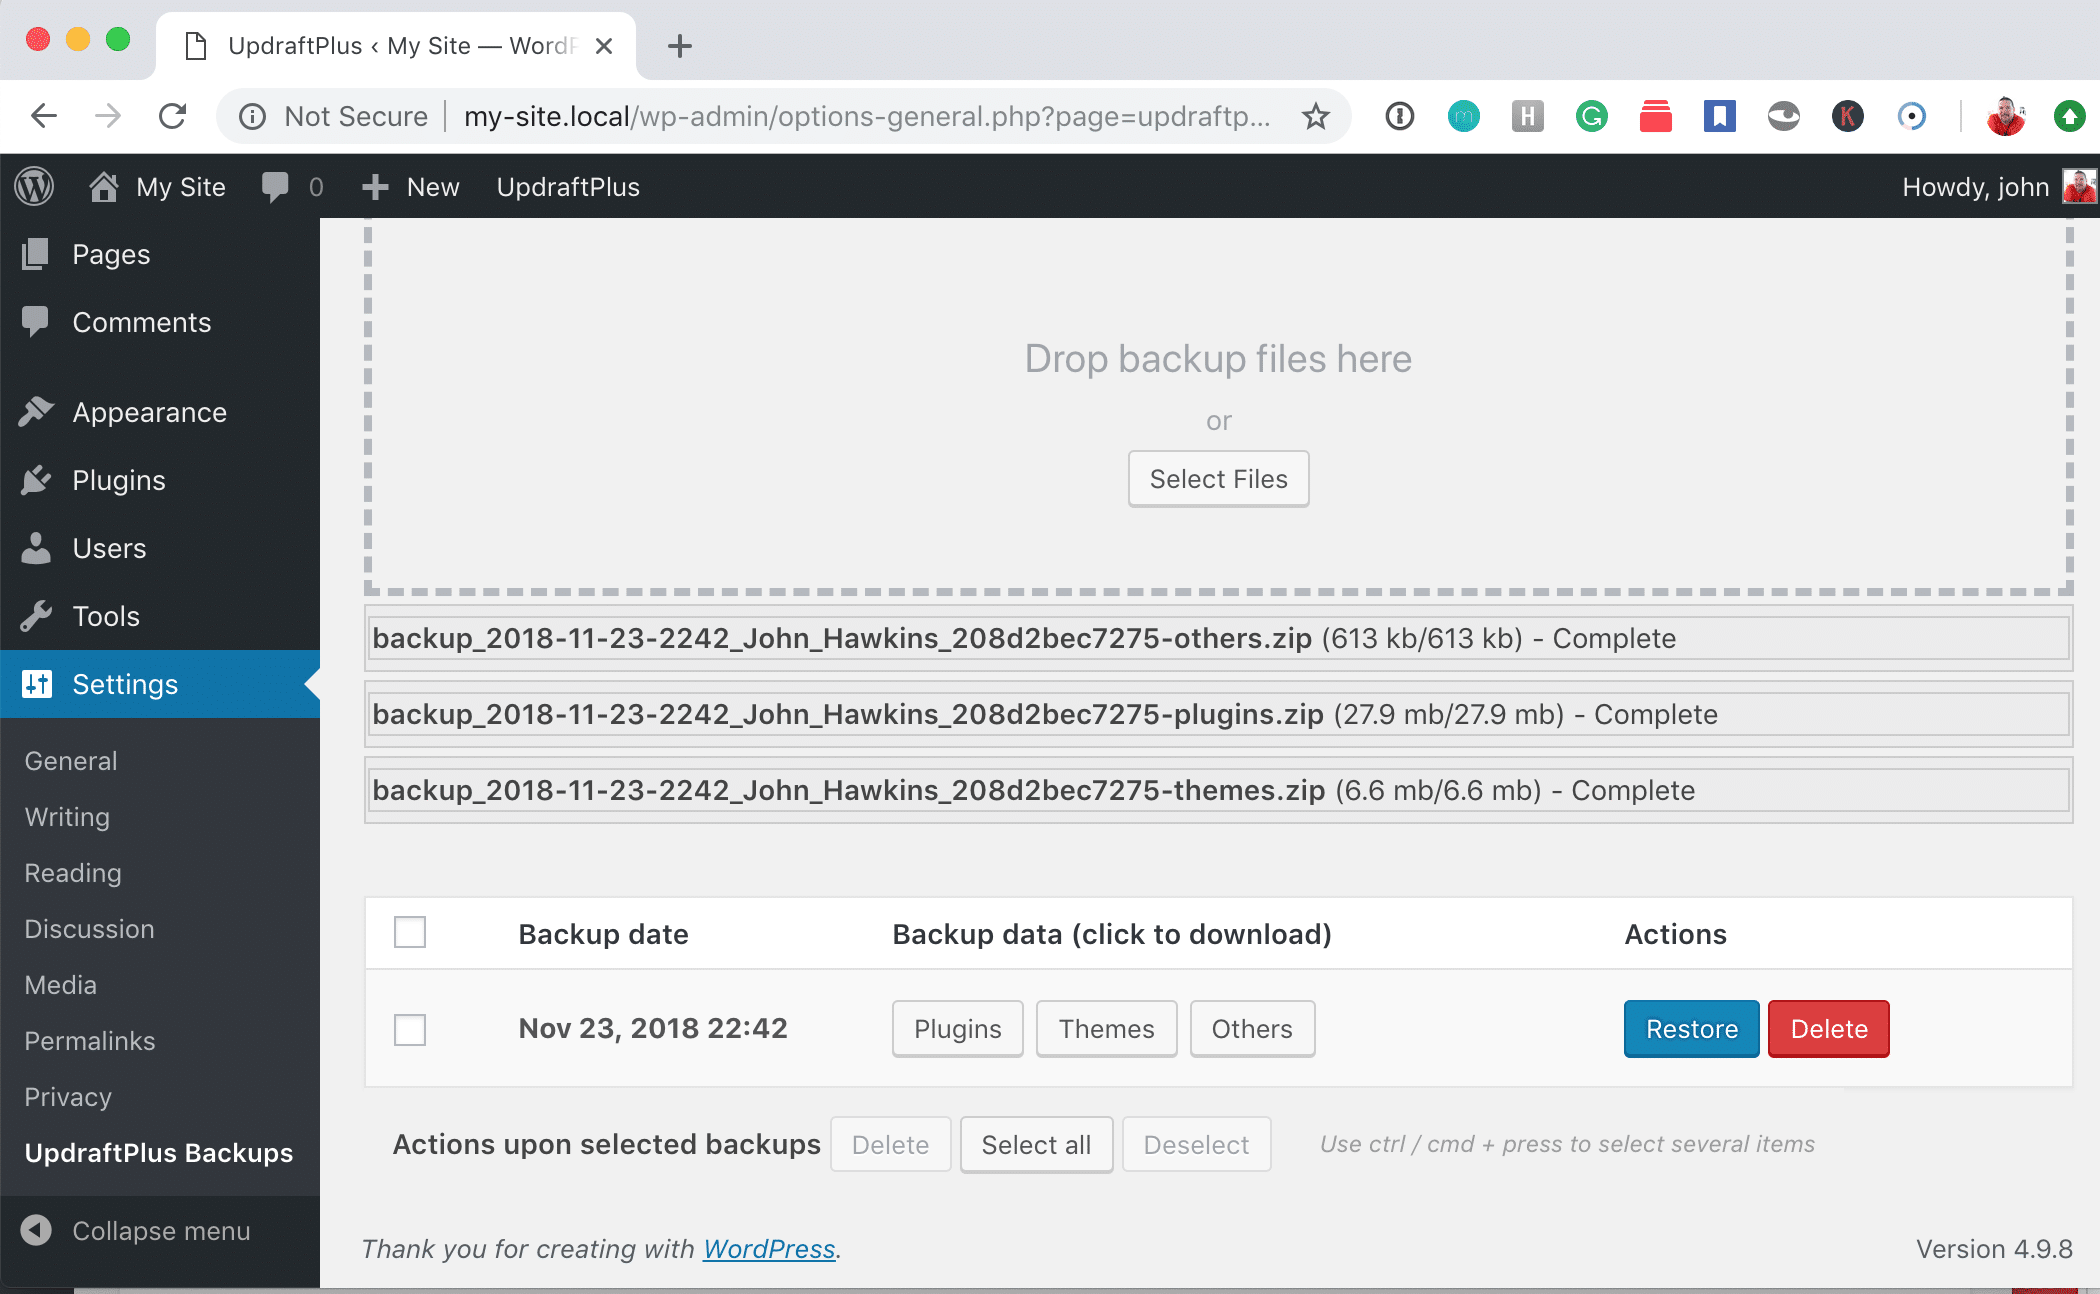
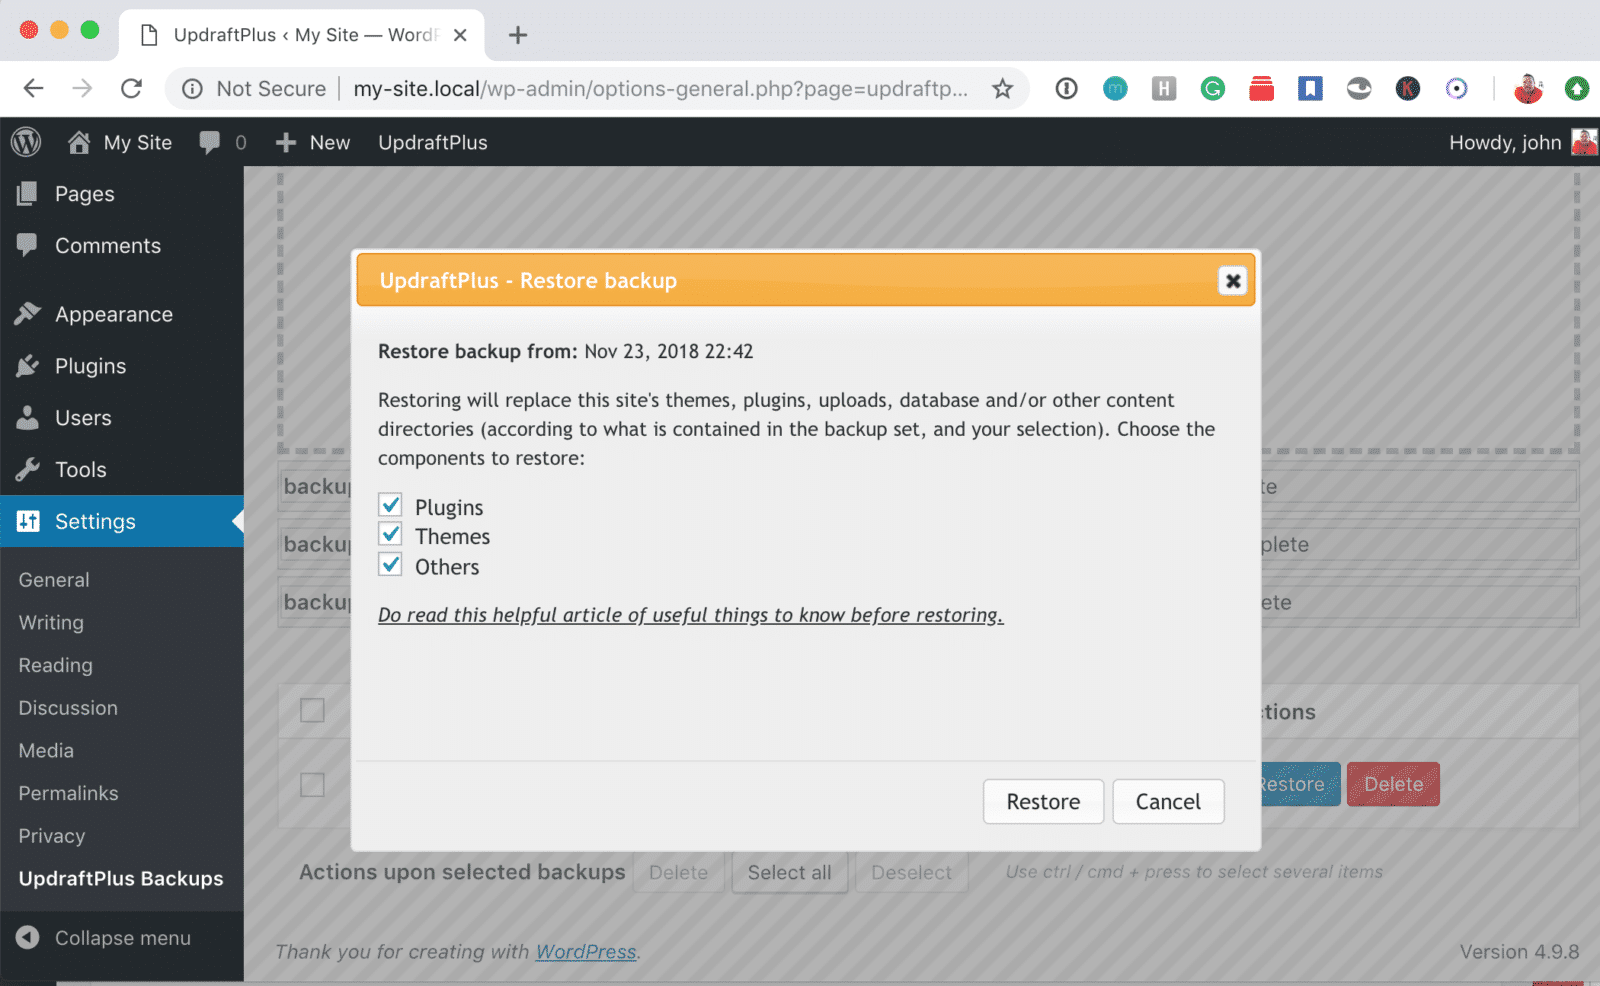
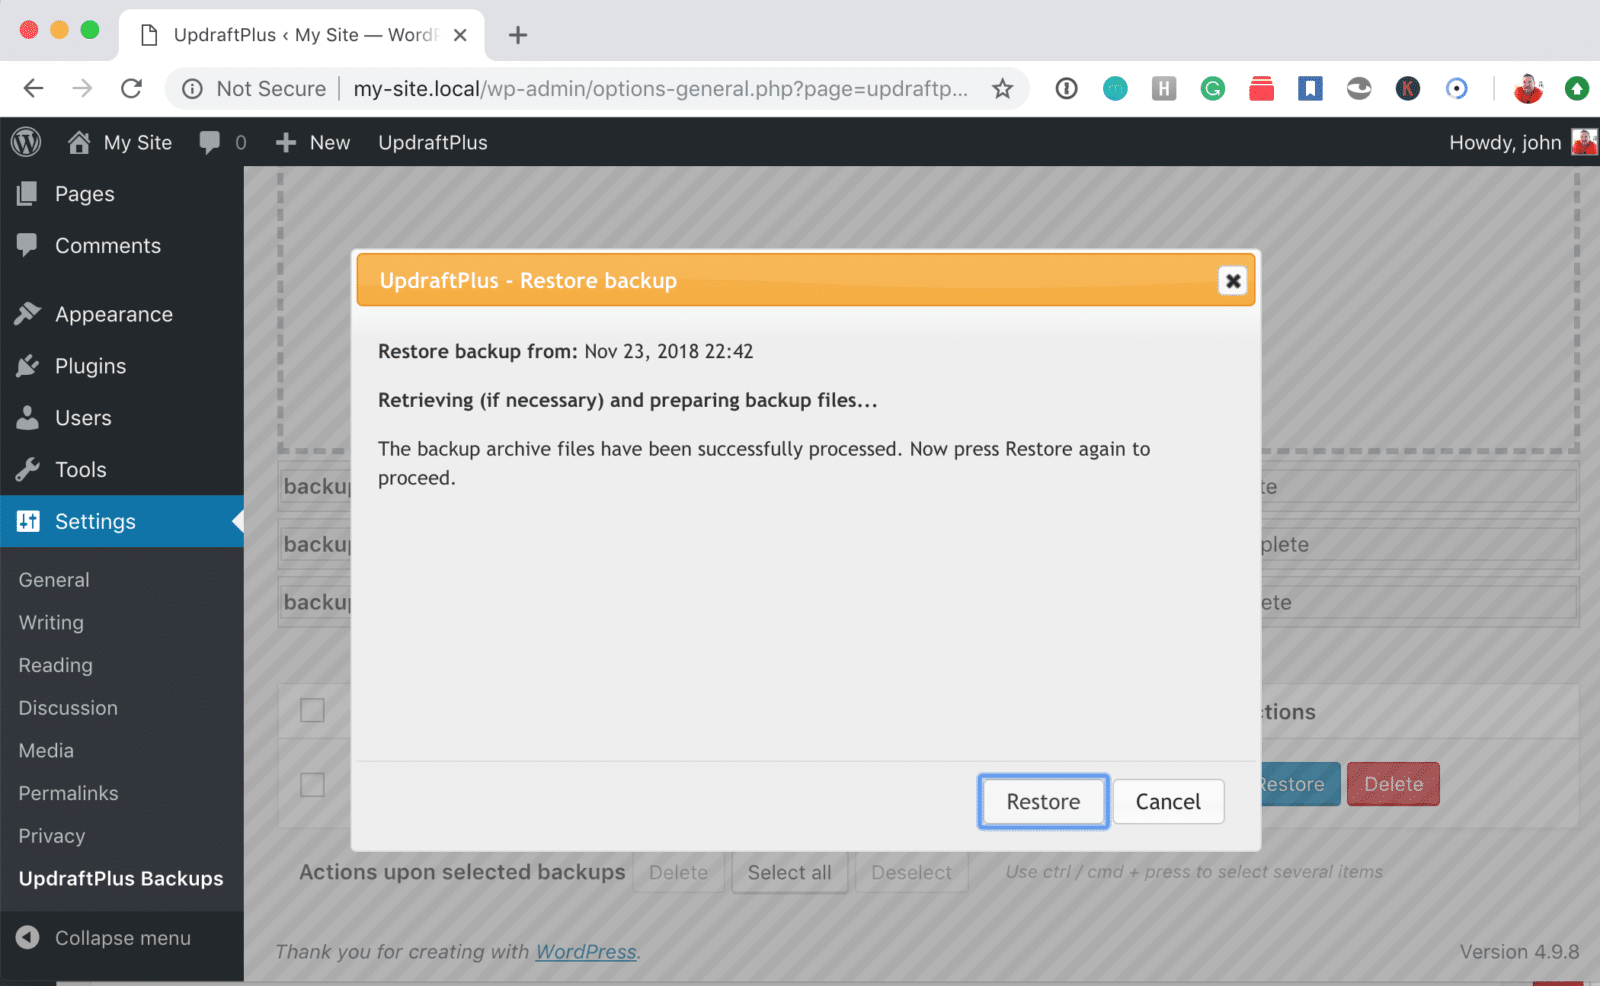
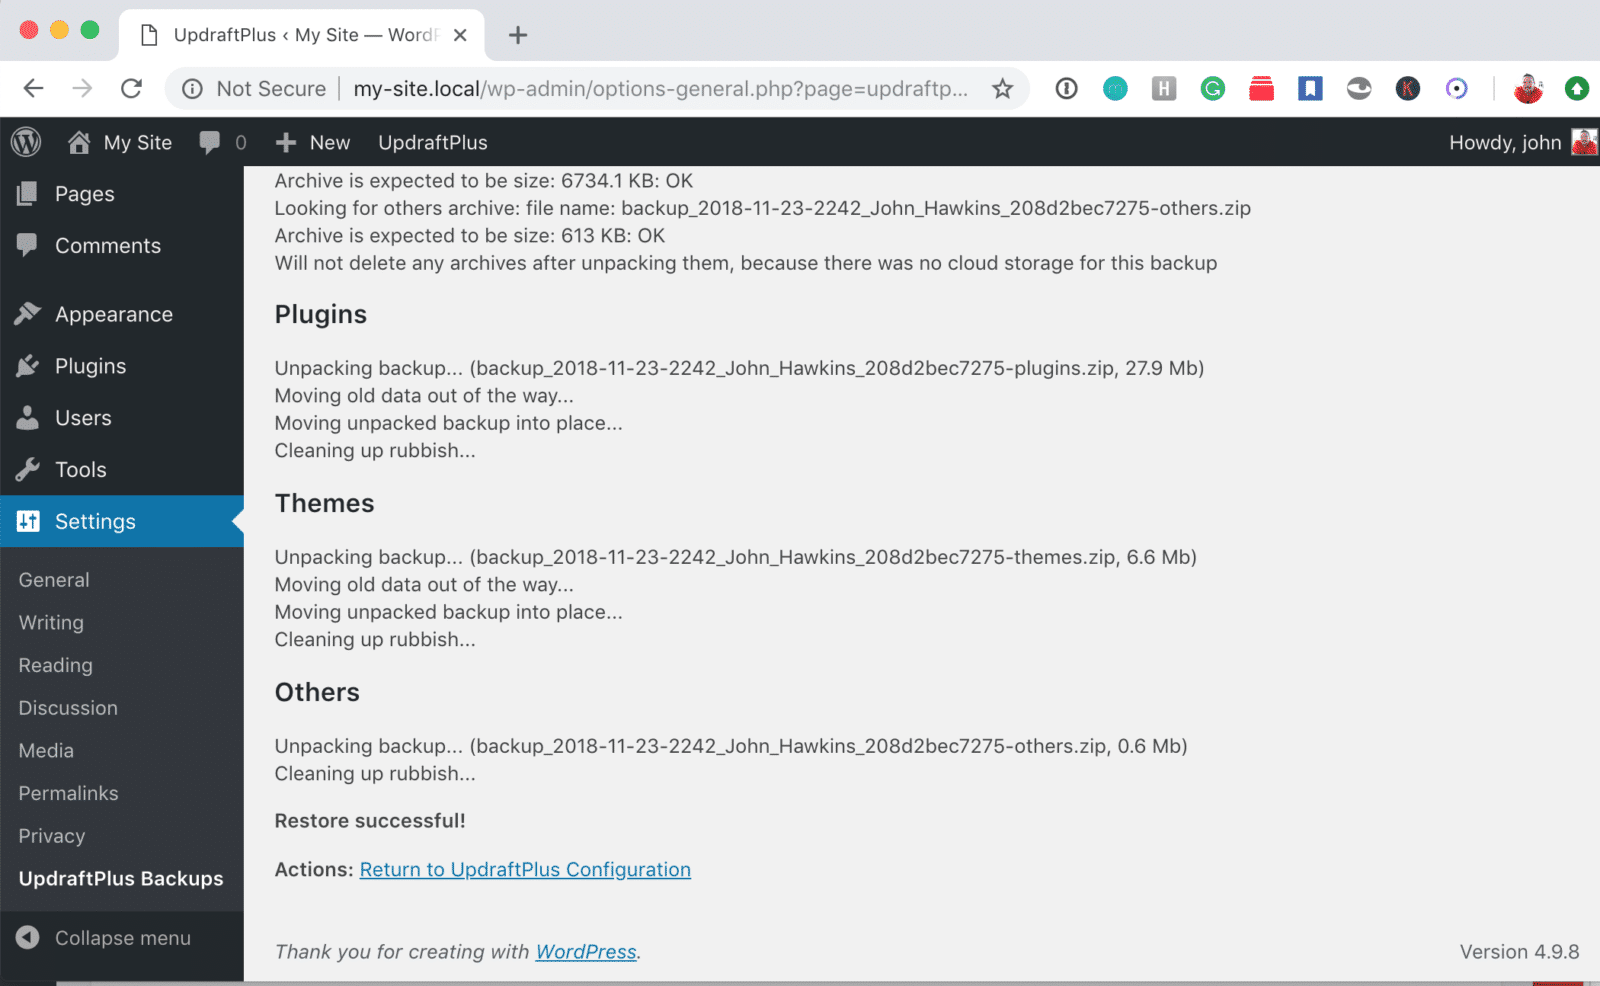
At this point, if you click on the “Appearance” tab, you should see the themes from your live site have been copied locally and are now available. It's the same with the plugins. With that, we're ready to move onto the next step.
Migrate the database and media files
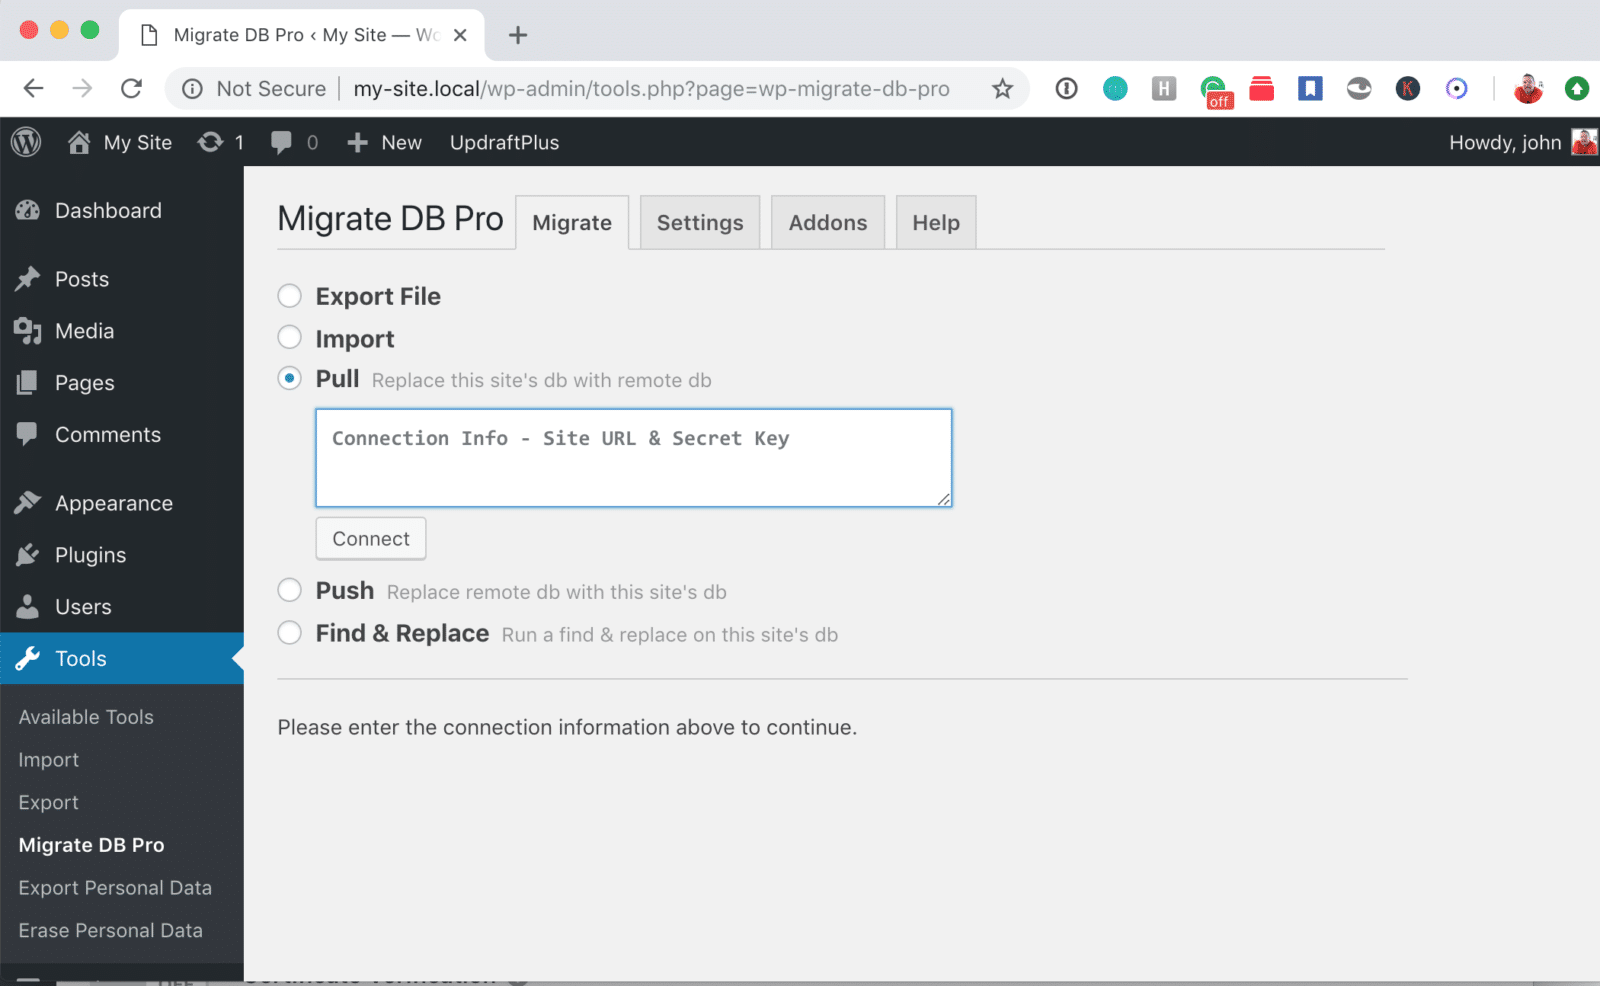
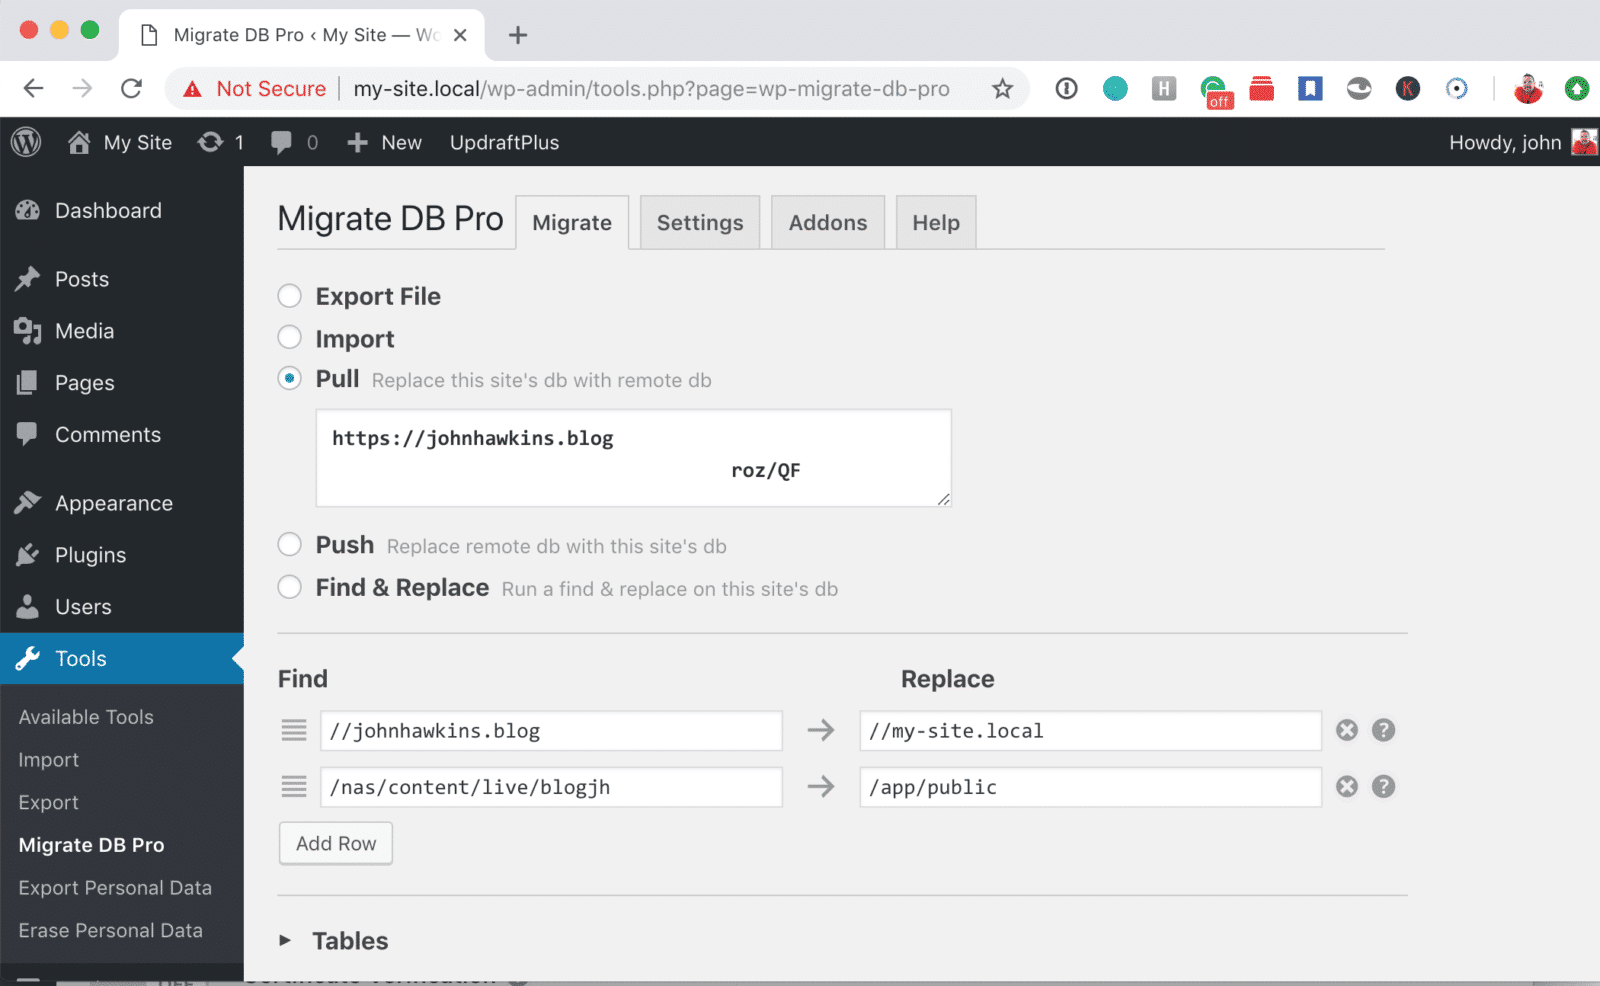
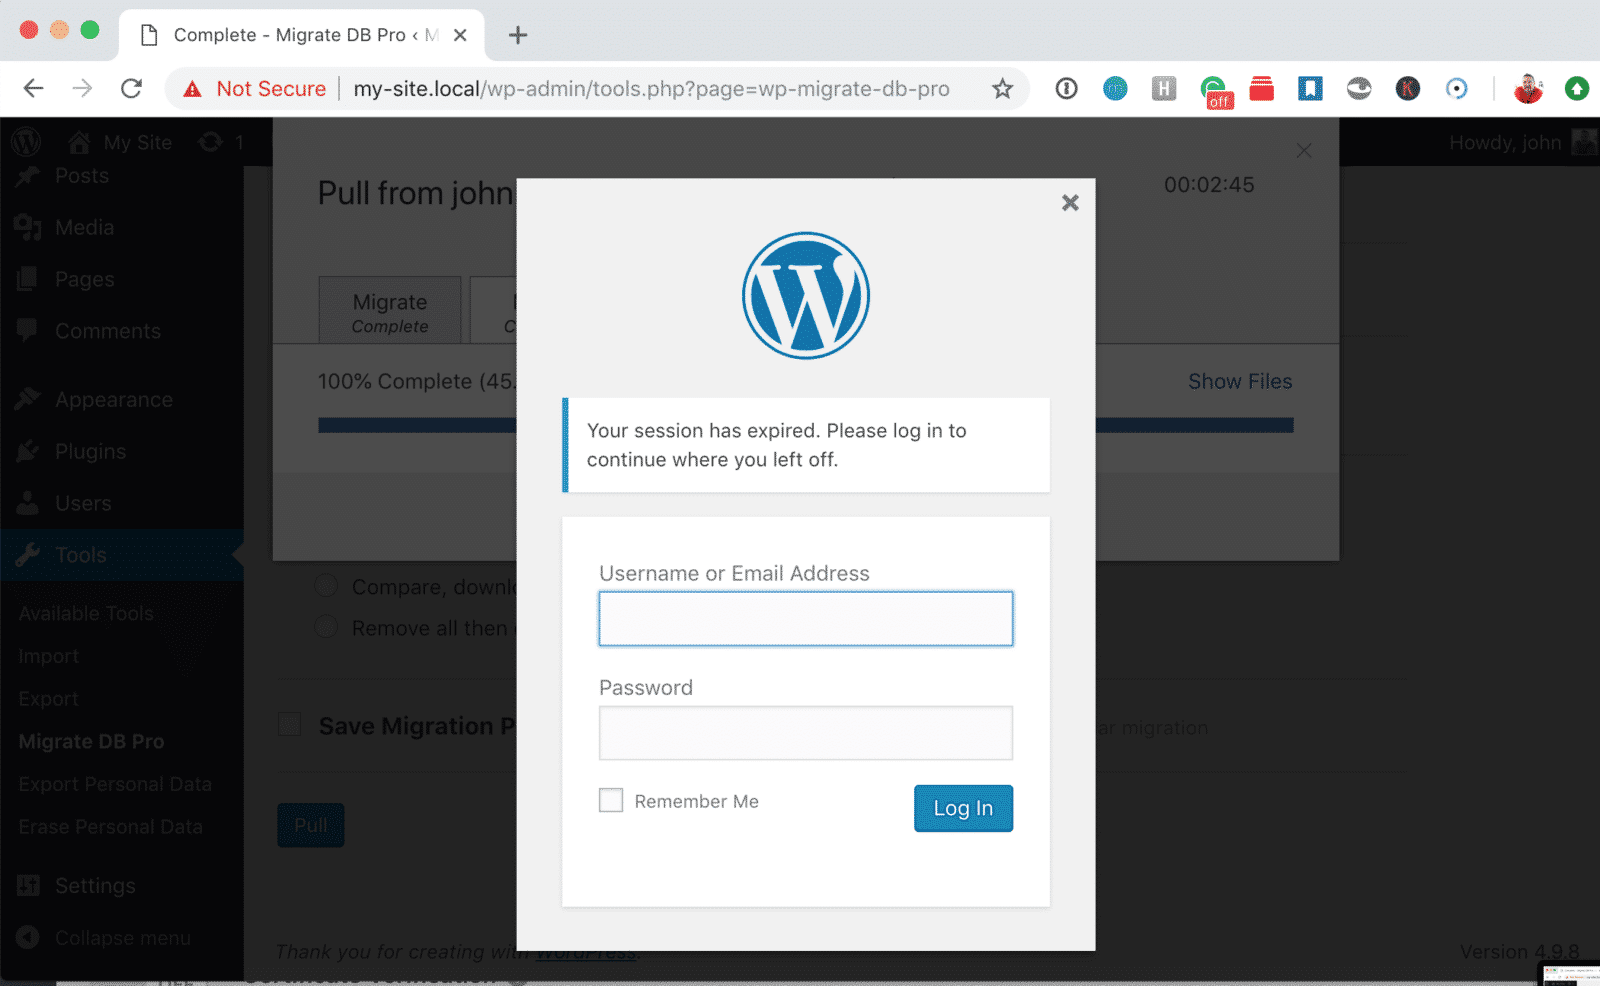
Next, we'll start by going to the Tools -> Migrate DB Pro tab on the live website. Then, follow these steps.

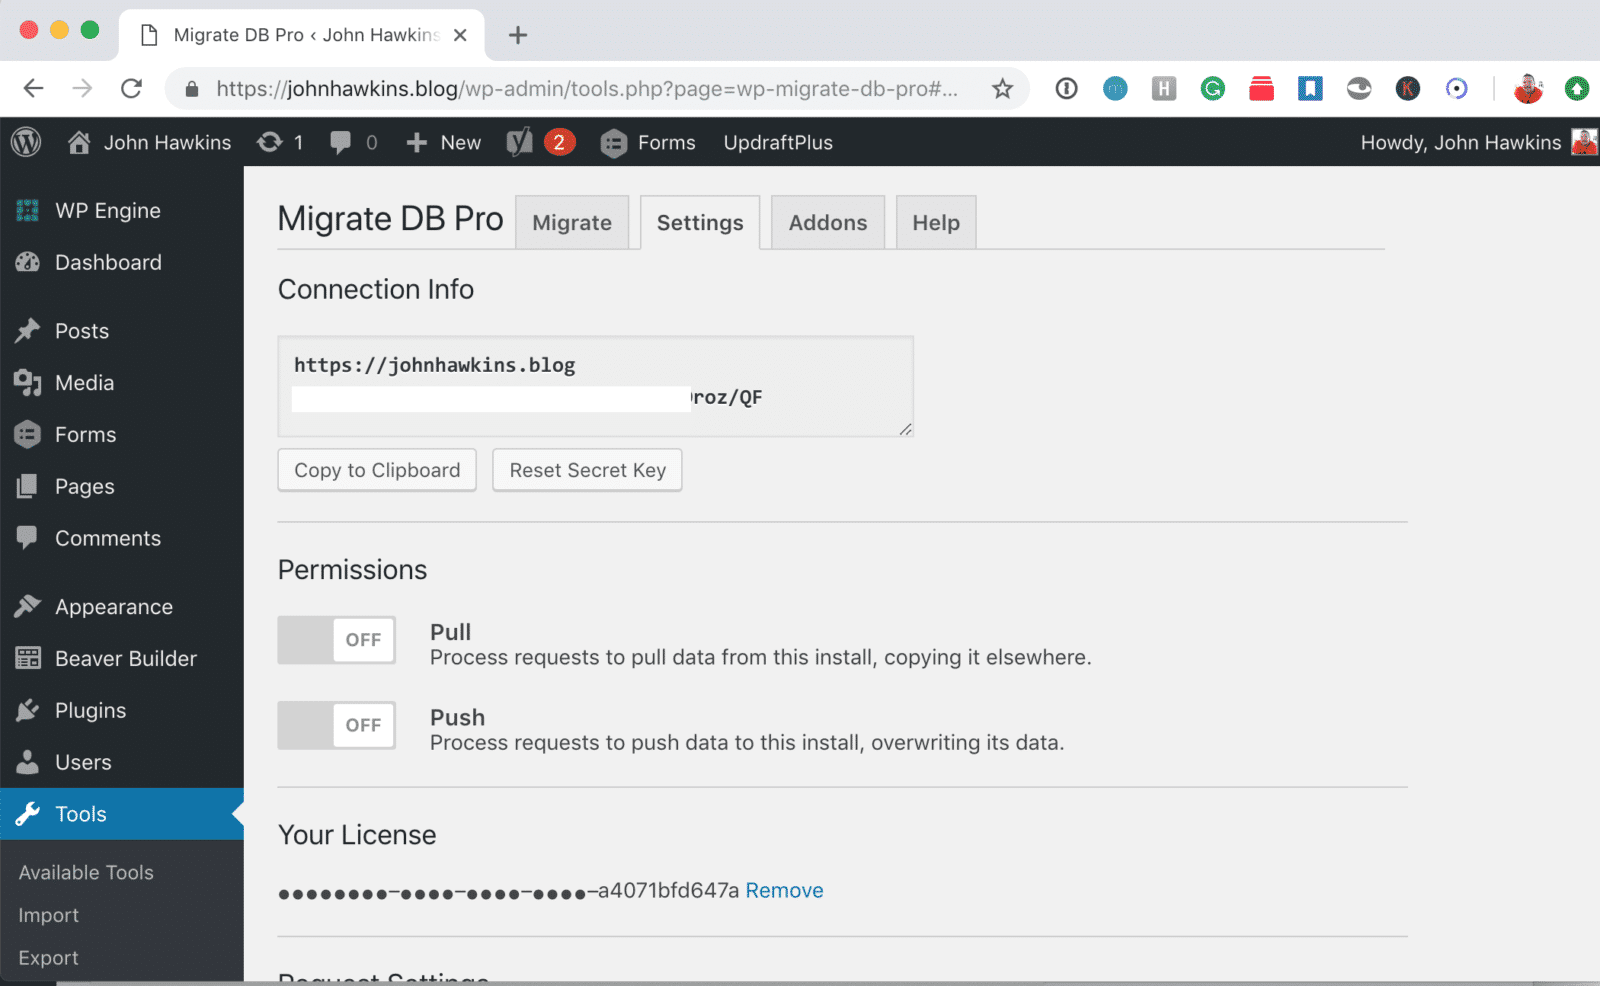

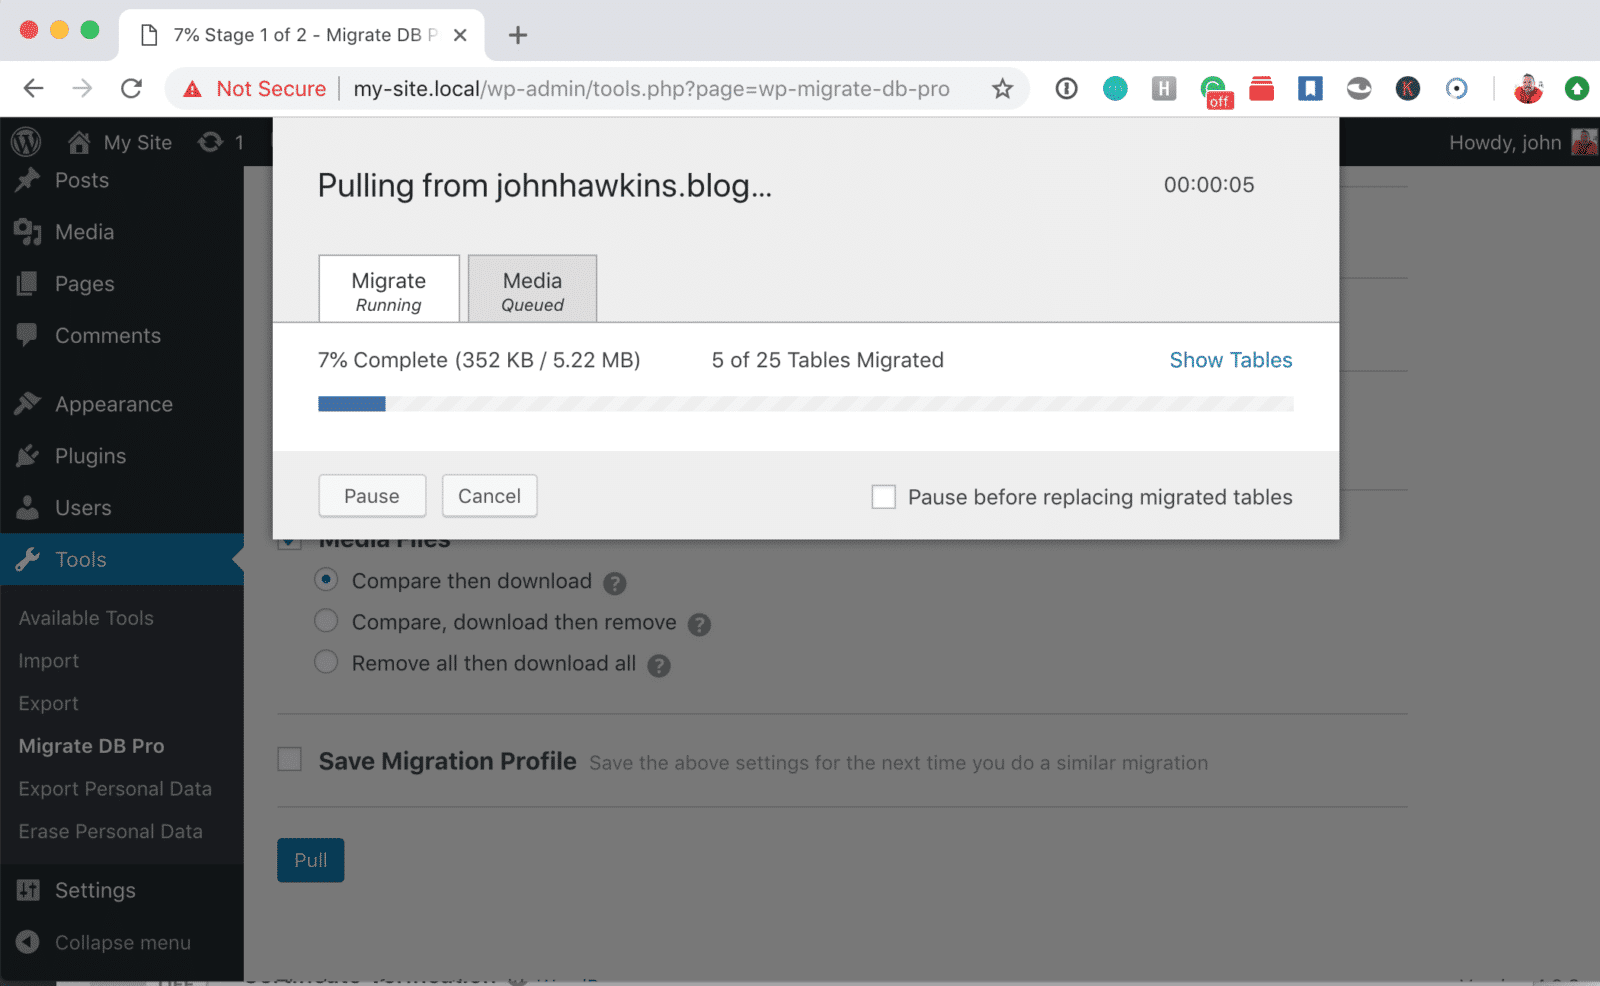
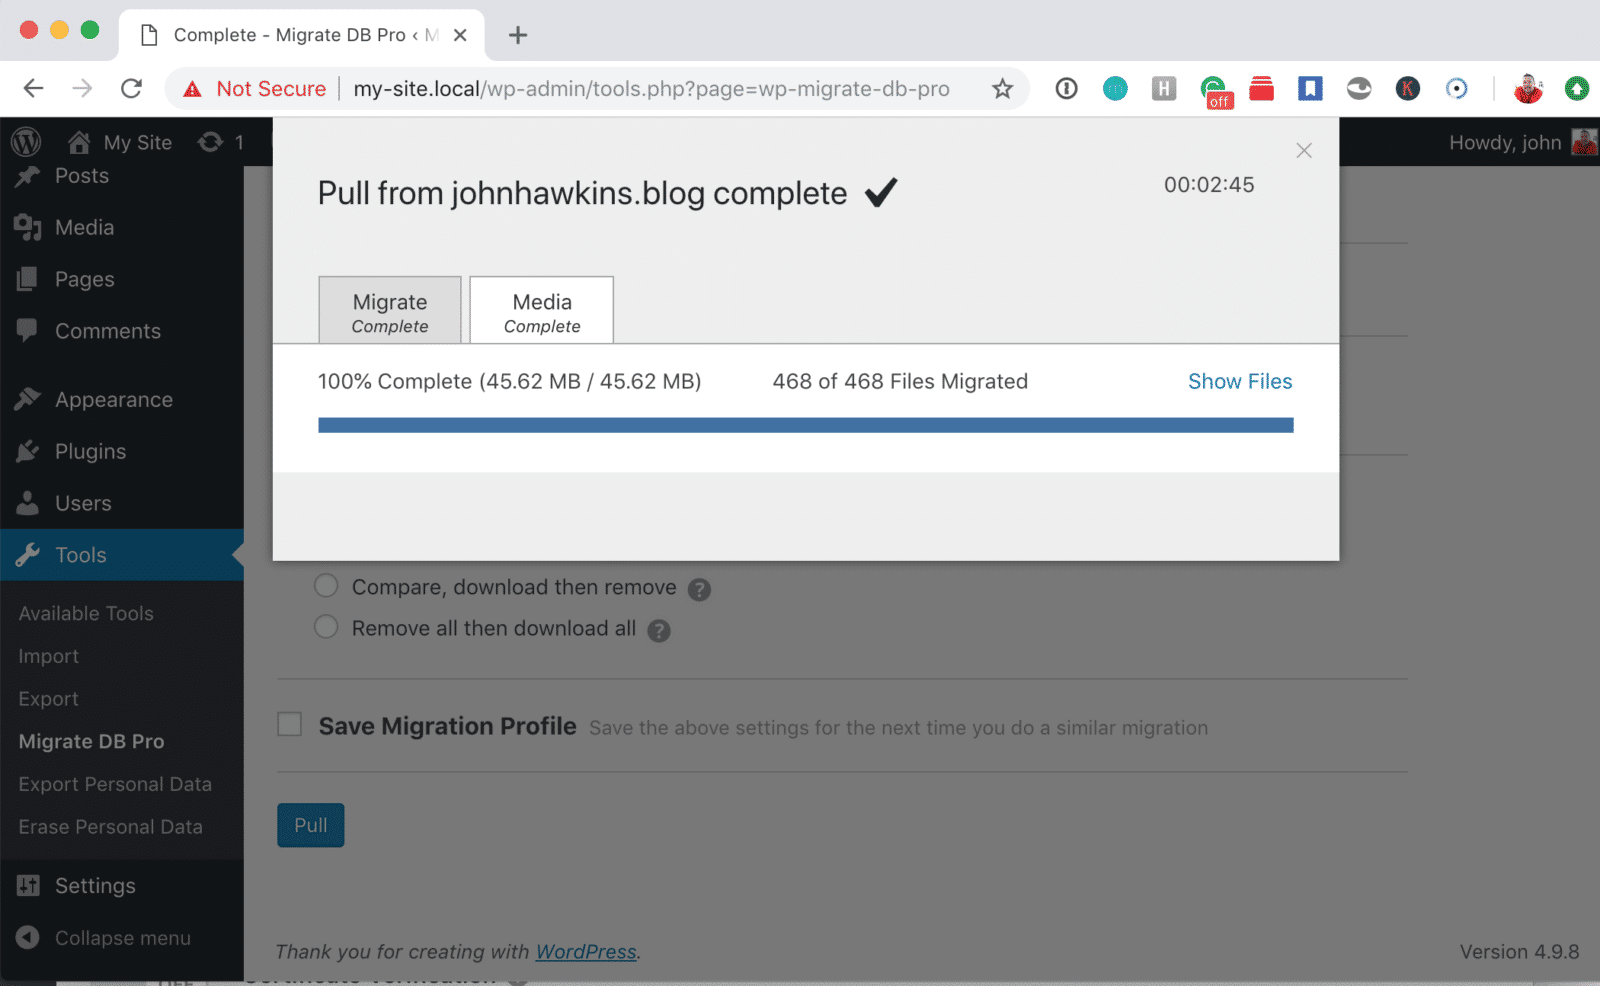
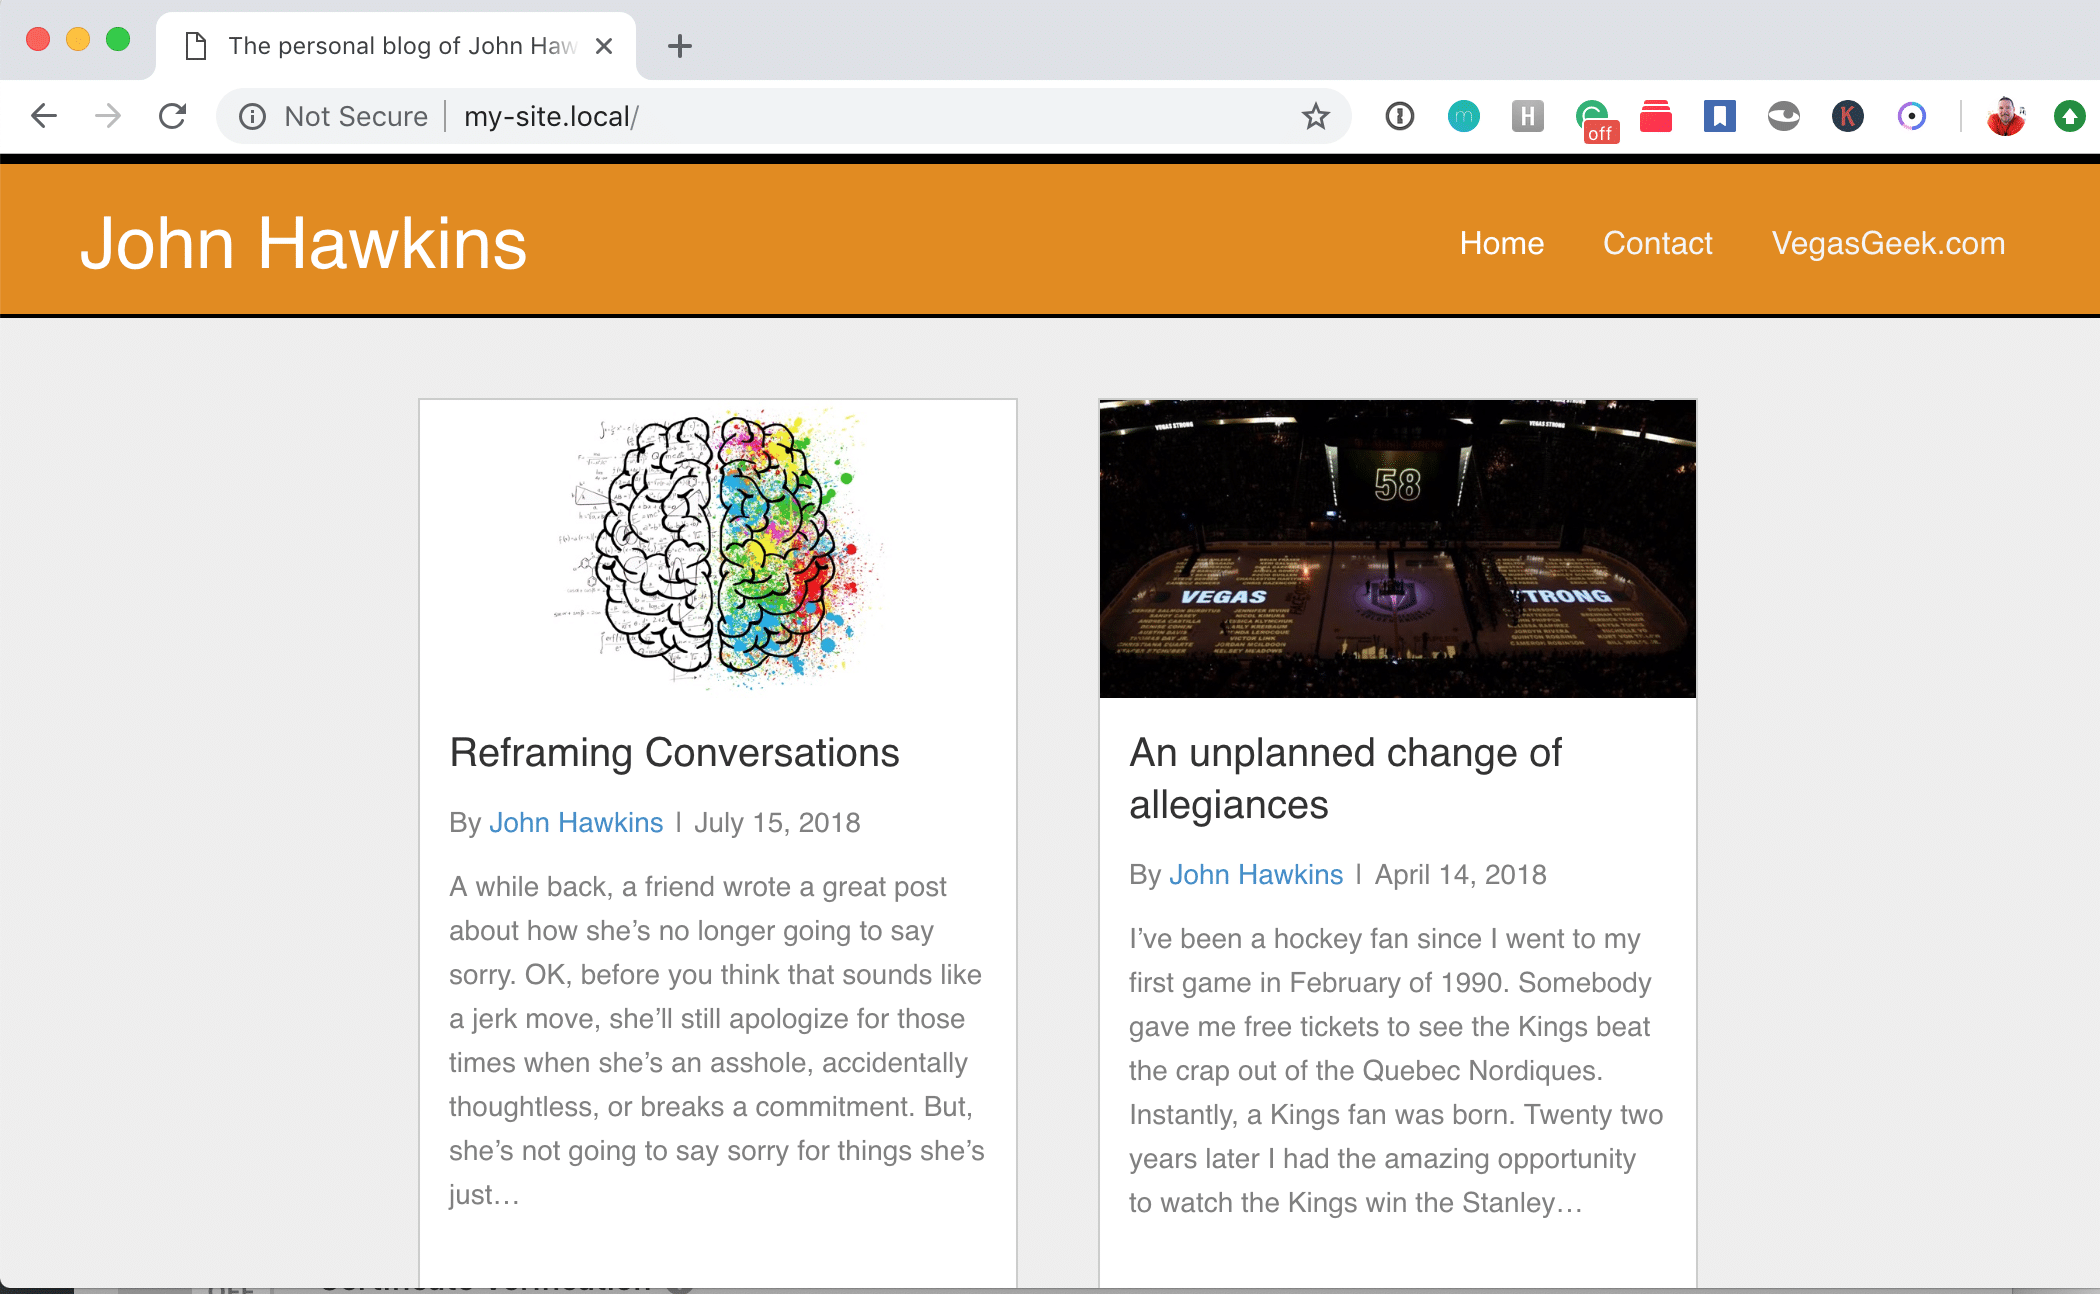
The live site is now set to allow the local site to pull a copy of the database and the media files. To do that, start by going to the Tools -> Migrate DB Pro tab on the local install and then follow these steps.


FAQs
One question that I get asked frequently about having a local copy of a website is, “Can I create content on my local website and push it to the live website?” My answer is always, “I don't suggest it.” The reason being, if you pull down a copy of the database from the live site on Monday and then take three or four days to make some changes locally and then you want to push it back up to the live server, any new activity that took place on your live site during that same time frame will be lost. There is no easy way (that I know of) to push only the changed data from the local site to the live site. There have been some plugins that have attempted it, but none that I can recommend at this time.
The other big question is, “Is there a way to set up a local install without having to pay so much for plugins?” To which the answer is “Absolutely!” As I said at the beginning of this post, there are many ways to set up a local copy of your website. But, the process I'm showing requires the least amount of technical knowledge. There are definitely less expensive ways to get the job done, but they will either increase the technical knowledge requirements and/or the amount of time it will take to get the process done.
Time to go test stuff!
Now that we've got a local version of our website, we have a perfect spot to test plugins/themes/software updates on our test site without affecting our live website. Right now, that probably means testing the upcoming WordPress 5.0 release with Gutenberg. The easiest way to test it is by installing the Beta Tester plugin on your new local install so that you can see how your live production site will likely perform prior to installing the most recent version of the software. DO NOT install the Beta Tester plugin on your live website. Only use it on your local development environment, as the software is still under development.
I hope you find this tutorial useful. I would love to hear your feedback. Did you run into any issues along the way? Let me know in the comments. Now get out there and test all the things!